First I want to report on my AWESOME first class. I have 7 students and I think this is my calling…for real, I love being able to pass on my knowledge of this wonderful textile art to anyone who wants to learn it. So Yes, I’m loving teaching!! More reports will come 🙂
+++++++++++++++++++++++++++++++++++++++++++++++++++++++++++++++++++
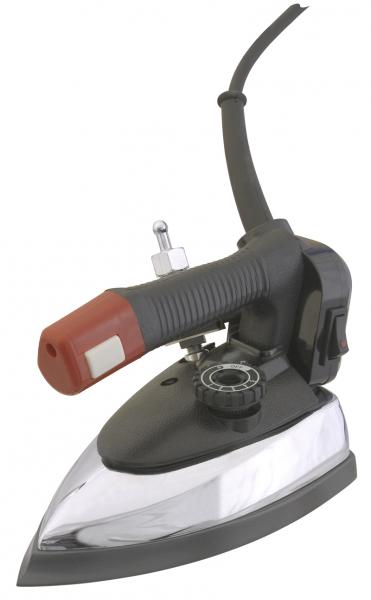
For today I would like to inspire you to freshen up your ironing boards with a new cover or two…now that I’m in my new studio space my DH needs his own iron and board so I’ve ordered a new iron and bought a new board…here’s the iron it’s a Sapporo Gravity Feed. Has anyone used one of these before? I’ve heard wonderful comments on them, I’ll do a video when it comes in for you all…
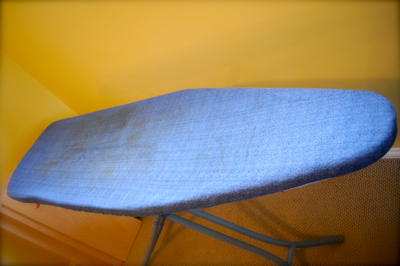
Since my old ironing board looks like it should go into the garbage can, here’s the before picture but please don’t tell anyone!!
Onto the Ironing Board Cover Tutorial…
I’ve done two covers, here’s the first one, the second one I’ll show you all next week as it’s the one I did for myself and it’s adorable!!!
Here’s the colours I picked for DH’s board well he actually picked them as he didn’t want me to pick “cute” stuff, lol.
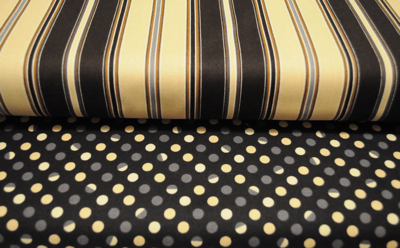
these colours are from the new Metro Goes Au Natural Line
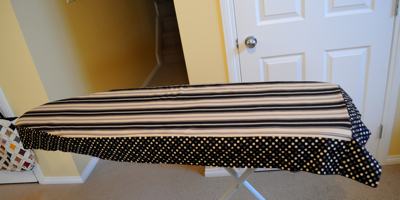
Here’s his finished board cover

get out your ironing boards ladies:
Measure length and width adding 3 inches.
For Jeff’s board I wanted the stripe going lengthwise I used 59″ of fabric (1/2 length of 1.5 yards) for the length x 14″ width which is the exact width of the top at the widest point and 3- 4″ WOF 3 for the polka dots border around the perimeter.
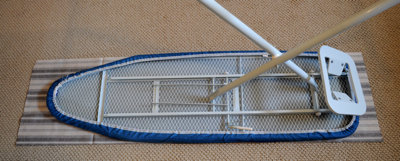
lay your iron board on top of the center main fabric in this case it’s my stripe!!
trace around the board to get the perfect shape.
As you can see I left the cover on I prefer my ironing boards to have good padding when I’m pressing and so does my DH – but I think it’s because of me 🙂
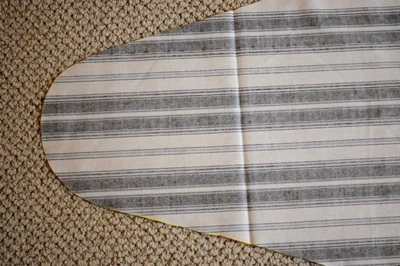
cut around with a nice sharp pair of scissors so your lines are excellent,
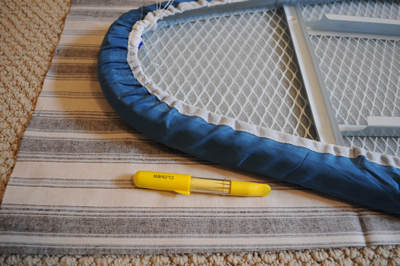
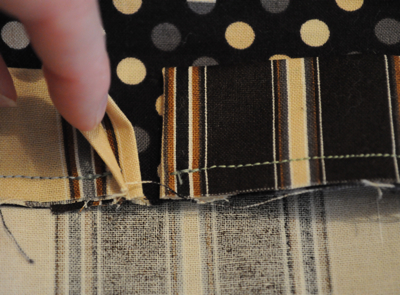
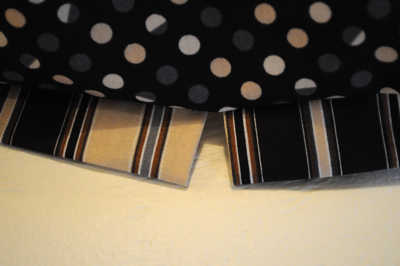
now add your border print – polka dots in this case, pieces all sections together so you get the entire perimeter around the board following the curve
start on the bottom square edge, follow all the way around the curve then down the other side stopping at the square edge, trim so it’s even. Then take the remaining fabric left over of the polka dots and sew directly across the bottom.
Because you are following the curve shape this will help hug the ironing board.
I like to test things as I go, so I’ve laid it out onto the board to see how it looks, cute eh?
Next cut out a layer (or two) of batting this helps absorb the steam and provides good cushioning

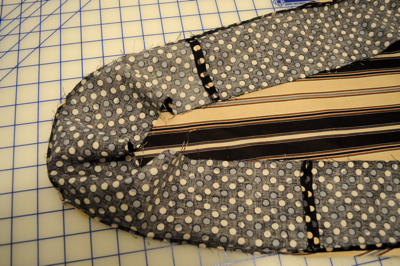
I wanted a good casing for the ribbon, so I thought about what would make a good casing, I decided to use binding…so cut 2.5″ sections out of main fabric enough to give you the entire perimeter around the board. I used double fold standard binding techniques…here’s a tutorial on binding to help you out.
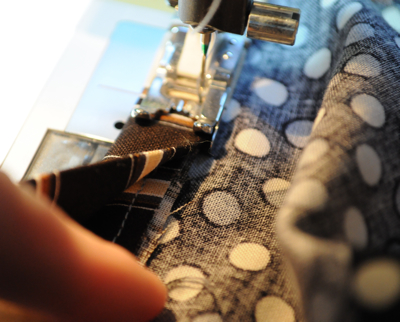
Attach your binding to the perimeter starting at the center on the rounded end because this is where you want your tie to be, unless you want it on the other end, you decide, other way start in the middle.
sewing the binding to the top of your ironing board cover, start by folding the edge under so it’s finished, backstitch a few times to ensures it’s stable, sew all the way around until you meet up again, cut away access after you provide yourself with a bit of fabric to turn under.
here’s the view from the right side.
Now what we need to do is turn this under again to provide the casing for the ribbon, make your seam allowance almost an 1/8″ because you want to have as much of an opening as possible
same thing as before, follow from the center all the way around to the center, backstitch
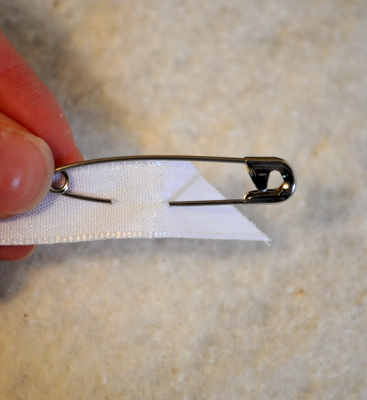
Find a nice long ribbon, shoe lace, fabric pieces, something with a small width as you only have about 1/4″ to pull whatever though, add a safety pin to the end, make sure you can get the safety pin through the opening
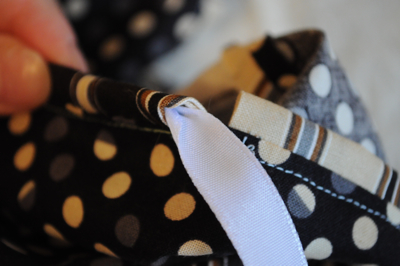
Feed it all the way through, your hands will start to fill it when your done as it’s a bit of a long process, so get comfortable.
Thanks for reading my blog and if you try my tutorial out please send me a picture of your finished board valerie@pastimesonline.ca as I would LOVE to see what you create.
Hopefully I’ve inspired you to freshen up your boards for Spring!!!
Have a happy and creative weekend everyone,

PS Plans for this weekend for me will include, Flying Needles meeting and sew day on Saturday, and Sunday putting kits together and sewing, can’t wait!!! Send your inspirational thoughts my way.
Looks great. Too bad Nate just bought a new ironing board cover for his. He will be envious of DH’s. I’m so glad teaching went well for you and that it is your "true" calling. Thats how I feel about it, though I could do without the report cards, meetings, challenging parents, meetings, report cards, paper work, I think you are getting the idea.
Cute cover and a very detailed tutorial! I’m impressed that your stripe is straight and centered! I’d chicken out and use something else. 🙂
Isn’t teaching the best feeling? Good for you! I can’t wait to do more myself.
Congrats on finding your calling!!!
And what a classy board cover! so sharp looking. I will have to do this sometime, my board look so tired and dingy…and stained with eaven knows what!
PERFECT!!!! Last night as I was pressing a block I was thinking I needed to add padding to my ironing board and wondering what to use. And along with that thinking that a new cover would be nice, but I have an extra wide board and it’s hard to find covers for it. This is PERFECT!!!! Thanks!
People deserve wealthy life and mortgage loans or just consolidation loan will make it much better. Because freedom depends on money state.