Knitting Break (entry 26)

So Jackie from Jackie’s Stitches Blog I love this blog and have it in my RSS feeds so I don’t miss a thing!! She is a quilter and a knitter and some of you quilters out there are also knitters…well I’ve been taking a break from quilting and started picking up my needles lately – mostly for Christmas presents and hostess gifts.

Anyway, I was reading Jackie’s blog and she had the cutest knitting needle keeper so I had to tell her about mine from my Mum I think in the 70’s she made it – here’s the pics Jackie – just for you;)
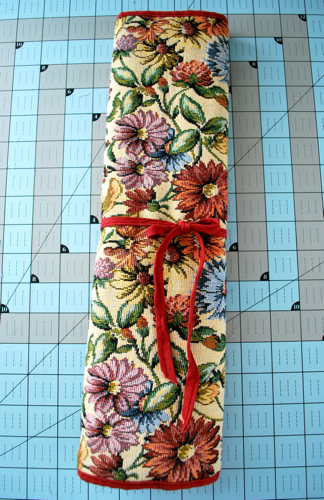
 

Closed and Tied!!

Open obviously…love it!

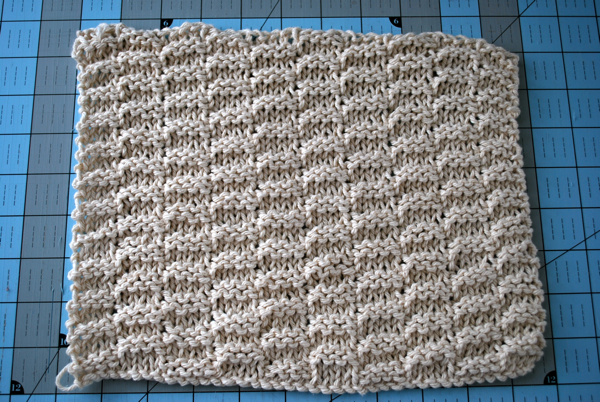
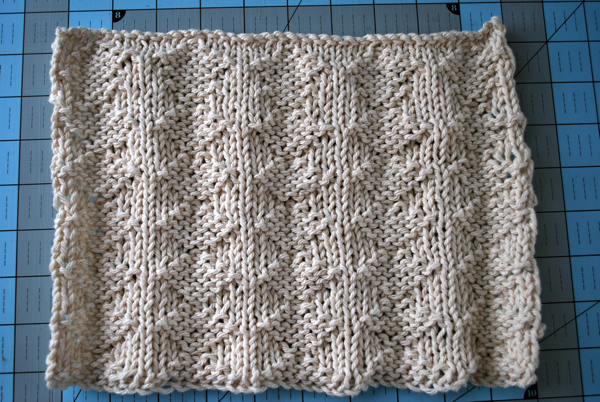
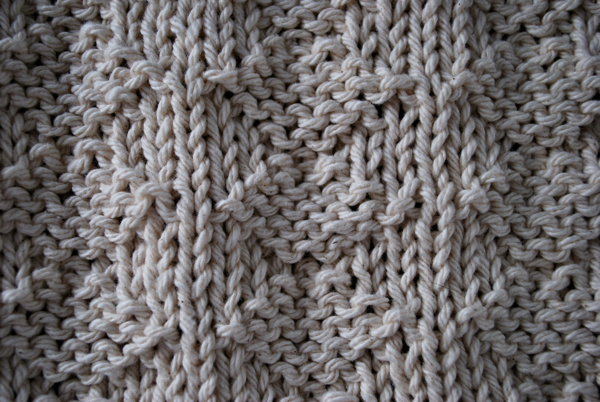
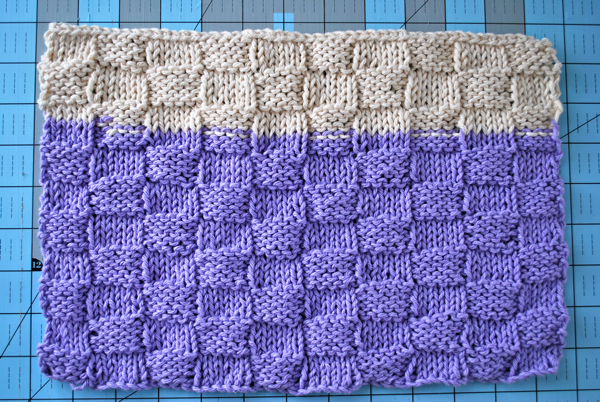
Here’s some of the cloths I’ve whipped up…I always wonder why they make the cute little cotton dishcloth balls of yarn so small…I always have this little bit left over like enough to do just 1/4 or 1/2 of the next one…so I’ve improvised some of them

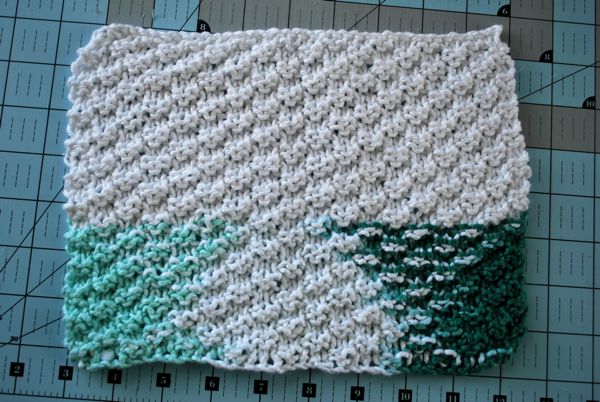
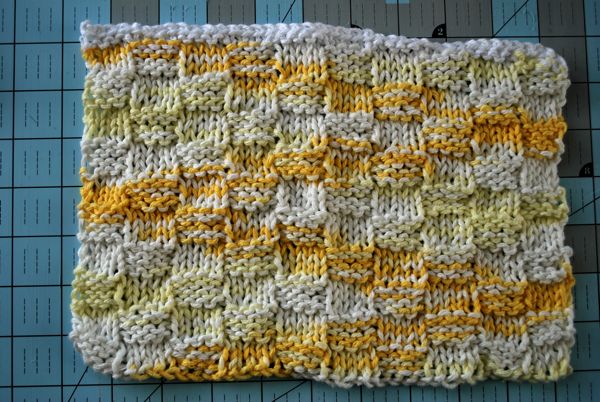
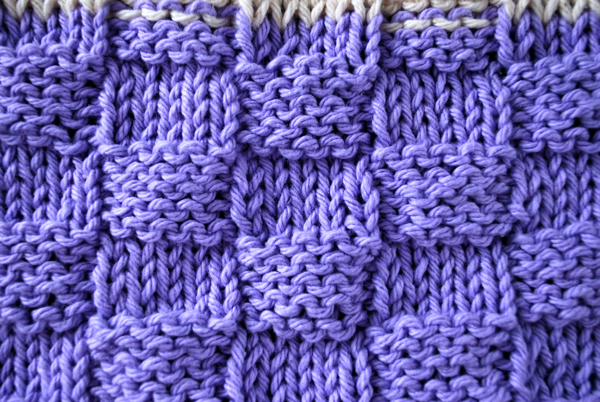
All of these below I didn’t use a pattern just made them up out of my own experiences with knitting.

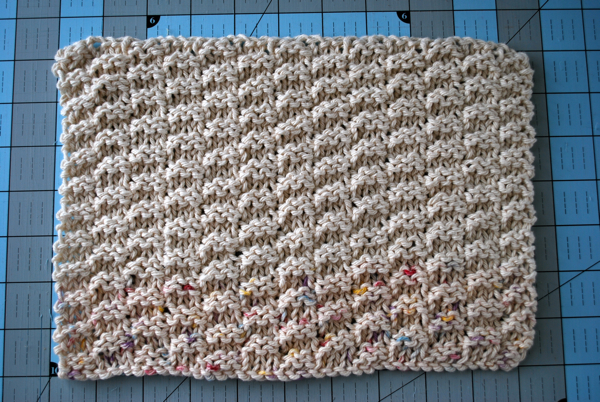
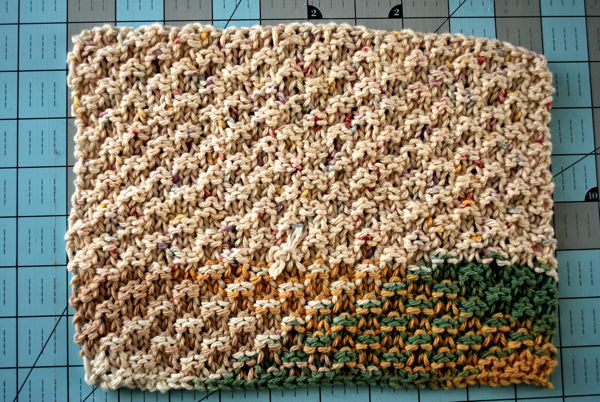
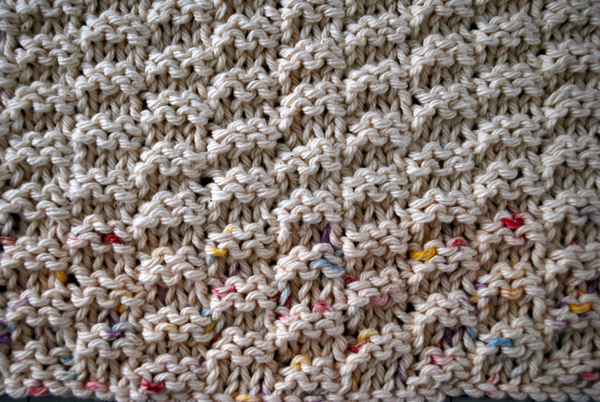
this one is showing using up the speckled yarn and adding in the plain

More to come, I’m also working on some scarves…

Stettler Alberta Trip (entry 4)

So in the Country Register for Alberta which is a newspaper dedicated to Quilters, Crafters, Sewing, Retreat Locations, Scrap Bookers – everything that we love!!

Anyway in there was a notice for a fabric store going out of business – store called Harriette’s Fabric Place – so my hubby and I took the day and drove out there to see the deals and to go for a drive and take pictures as we both love to photograph Alberta’s countryside. So we made a day out of it.

We spent sometime chatting with Harriette about her store…she’s been in business for over 30 years – has quite an amount of fabrics for sewing and quilting, loads of notions, buttons, floss, etc.

For those of you Albertan’s she’s marking everything down 35% + and in Nov 50%+ she wants to be closed by December…some great deals.

such a cute store

Well after shopping (I didn’t go too spendy as I want to go back for the 50% off sale;)) Afterwards we decided to find a nice local cafe to eat at – we always try to eat where the locals eat – we found Maggie Joes – adorable little place with the most amazing service – we even got free pie – can you believe that that never happens in a big city hey?

It’s owned by a family – the guy working the front kept talking about all of his sisters providing advice and direction to him – it was so much fun.

I totally recommending stopping into this town about 1 hour East of Red Deer…


On our way home we stopped at this scary looking antique shop (but arn’t they all a little worse for ware lookin’)

We didn’t find anything great but he sure had a load of stuff

Enjoy – V


Freezer Paper Example (entry 25)

For those of you who listen to Alison Rosen’s podcast on iTunes & Blog Within a Quarter Inch She recently did a podcast and blog questionnaire about freezer paper. Most quilters use it for many applications – see her blog for a bit of a list.

One of the suggestions I mentioned (yes I was featured on her podcast – how cool is this!!) was using it in an awkward space as a template – well I heard her podcast today…and I’m not sure it made sense once read outloud…“And also templates – if you want the perfect piece but not sure how to cut it out – use freezer paper to fill in the opening, add 1/4″ seam allowance, cut, and sew into place – this is the most useful application I’ve found for freezer paper.” This is what I said…now for my demonstration

This is the frame of the label for my Pinkie Lee quilt I finished, I used the left over dresden fan tips from the front, sewed them together and then I had to come up with the circle in the center…some of you would probably use a protractor but I don’t have one of those (hmm that could change if I continue working with circles)

take a scrape piece of freezer paper, place in the opening (or over it in this case) trace out the exact shape (or rough shape for my demo) DO NOT adhere to the fabric at this point.

cut out roughly the shape or exact shape like if you were using this method of inset triangles (this is how I figured out this method way back when)

now adhere to your fabric for your label on the wrong side of the fabric, cut approx 1/4″ or more (in this case), press with dry iron. (button is so my camera can focus on the white – she’s so picky;))

Write out your label with pigma pen, press seam allowance under while freezer paper is still attached to give you a nice smooth finished edge – remove freezer paper before sewing to your quilt with a whip stitch.

Good luck!!

Valerie