For those of you who listen to Alison Rosen’s podcast on iTunes & Blog Within a Quarter Inch She recently did a podcast and blog questionnaire about freezer paper. Most quilters use it for many applications – see her blog for a bit of a list.
One of the suggestions I mentioned (yes I was featured on her podcast – how cool is this!!) was using it in an awkward space as a template – well I heard her podcast today…and I’m not sure it made sense once read outloud…“And also templates – if you want the perfect piece but not sure how to cut it out – use freezer paper to fill in the opening, add 1/4″ seam allowance, cut, and sew into place – this is the most useful application I’ve found for freezer paper.” This is what I said…now for my demonstration
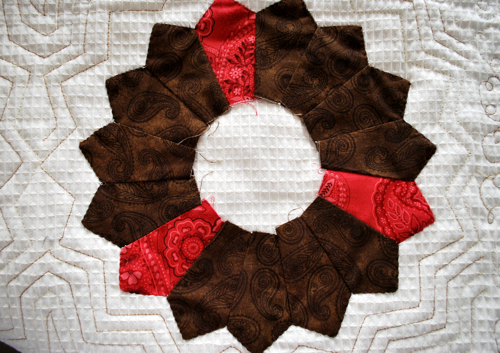
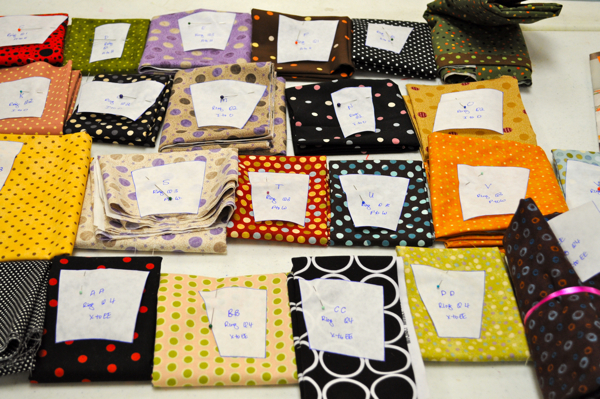
This is the frame of the label for my Pinkie Lee quilt I finished, I used the left over dresden fan tips from the front, sewed them together and then I had to come up with the circle in the center…some of you would probably use a protractor but I don’t have one of those (hmm that could change if I continue working with circles)
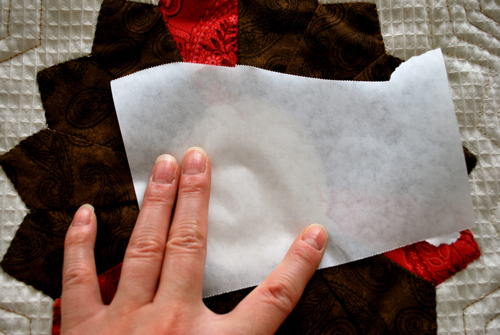
take a scrape piece of freezer paper, place in the opening (or over it in this case) trace out the exact shape (or rough shape for my demo) DO NOT adhere to the fabric at this point.

cut out roughly the shape or exact shape like if you were using this method of inset triangles (this is how I figured out this method way back when)
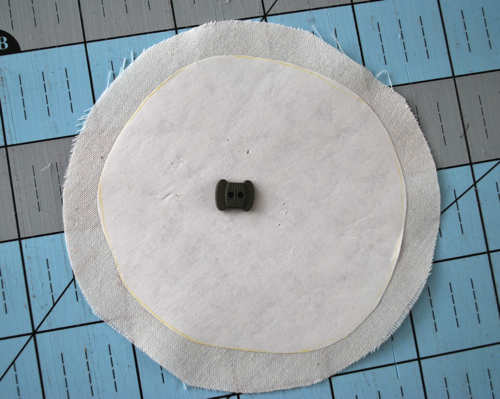
now adhere to your fabric for your label on the wrong side of the fabric, cut approx 1/4″ or more (in this case), press with dry iron. (button is so my camera can focus on the white – she’s so picky;))
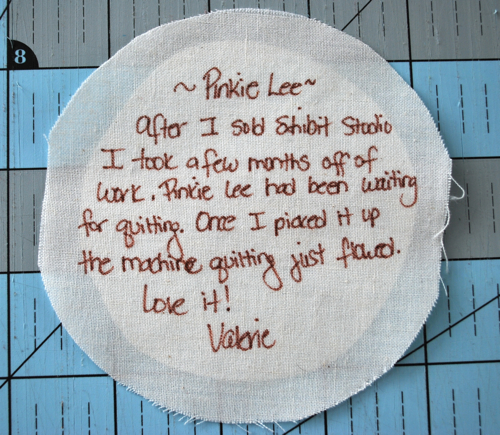
Write out your label with pigma pen, press seam allowance under while freezer paper is still attached to give you a nice smooth finished edge – remove freezer paper before sewing to your quilt with a whip stitch.
Good luck!!
Valerie