Around the Net: Bags (entry 37)

Happy Remembrance Day to all of us Canadians
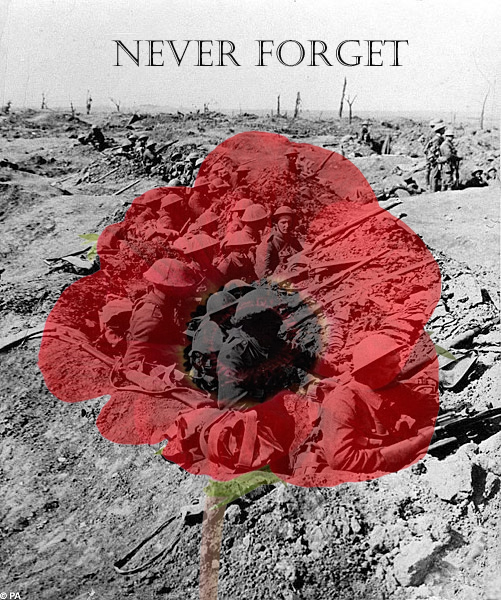
Thank you to those who have fought for us, those who are fighting and those who continue to fight for our freedoms as we are forever grateful.


Around the Net I go… and as I browse all the wonderful blogs out there in blog land, I try to keep a list of all the cool things I stumble upon with the intentions of sharing with you : )

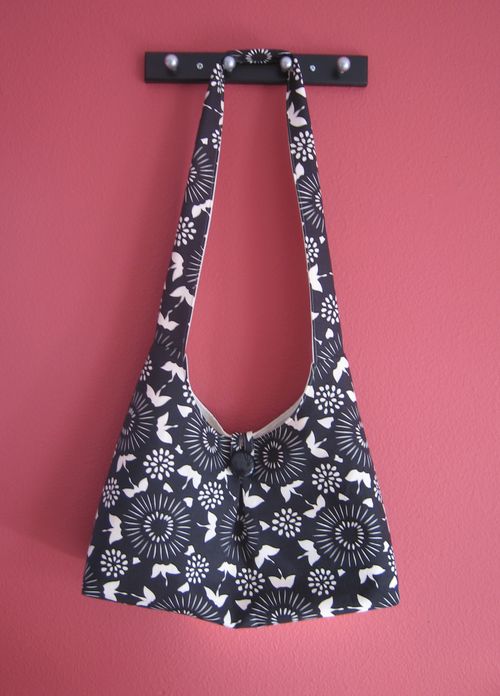
Today is no exception. DIY Bags is a cool blog all about bags, of course and as you browse through the site you will find a collection of all types of interesting bags.  Some to take grocery shopping, others to our sewing meet-ups or for guild giveaways, or even to stuff full of little trinkets and give away as gifts.

As a quilter/blogger I really felt a connection to DIY Bags.  It has such a great collection of free tutorials with clear descriptive pictures and links to originating articles… “what a good idea”.

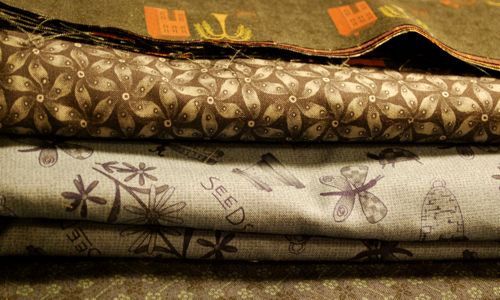
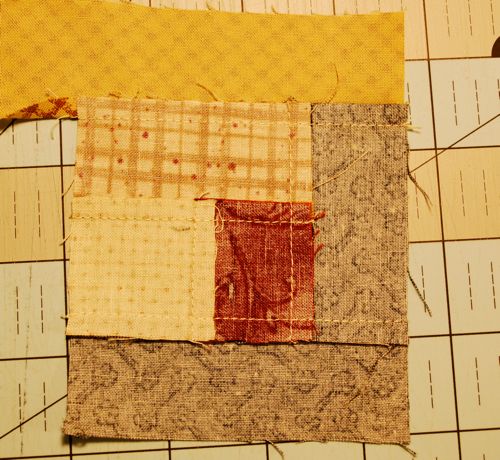
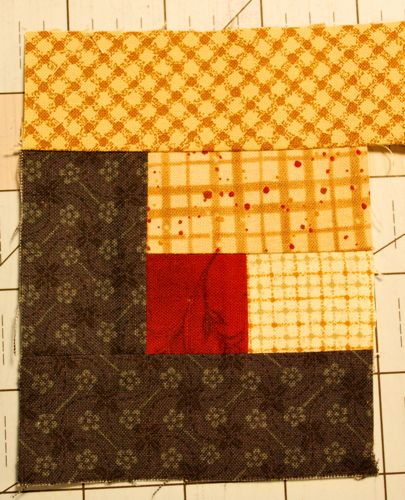
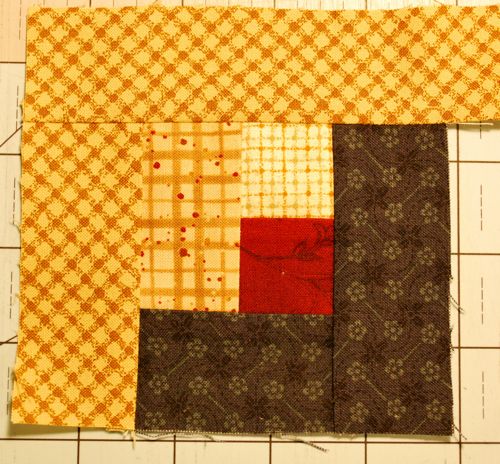
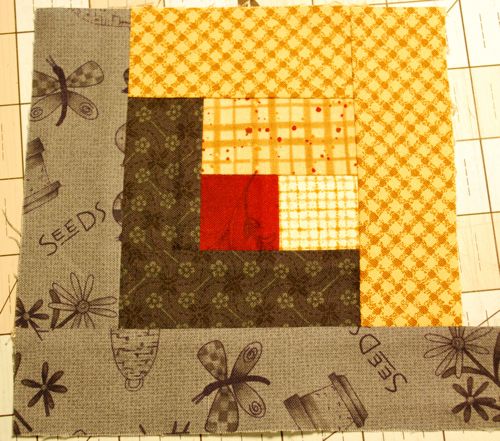
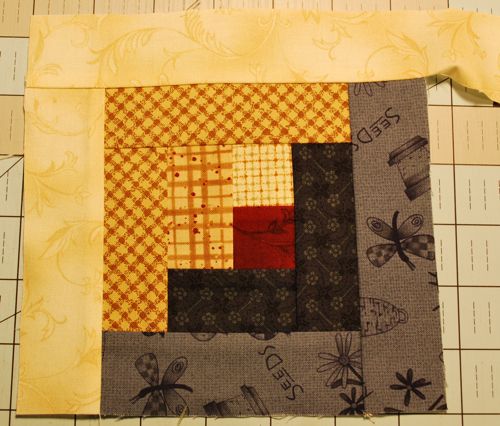
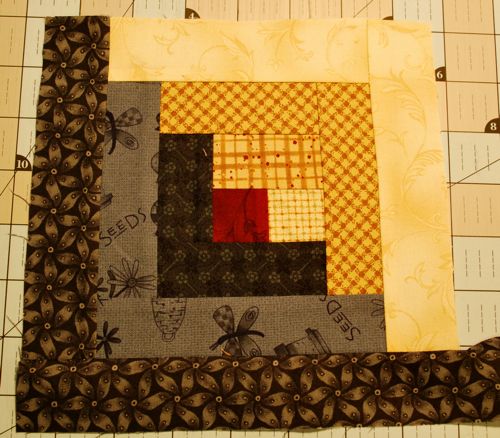
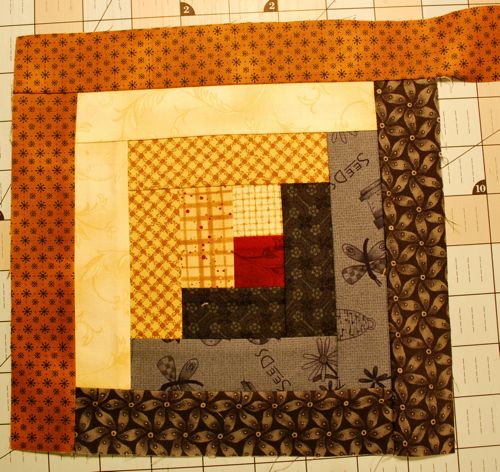
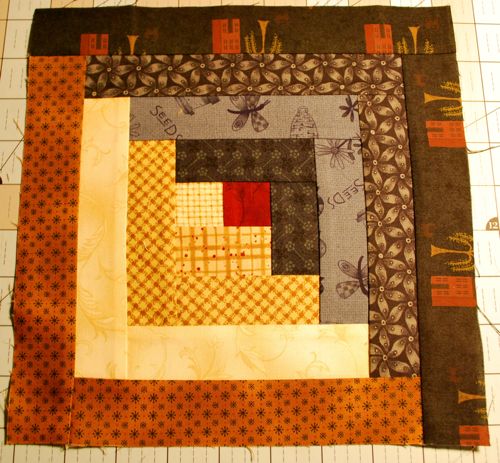
To help get your creative juices flowing, here’s a sneak peak at 4 very different styles and colours.


Until next time, have a great day! Valerie

Log Cabin Tutorial, Pizza Box Challenge (entry 18)

Hi Ya’ll, (I just like saying that as you Texan’s always sound so fun with your drawl accent)

As you know I’ve started a pizza box challenge (thanks to Boston Pizza for donation the boxes for us – so generous of them). I’m on my way to a retreat on the 2 & 3 of October so I had to get my block completed for the pizza box challenge.

I’ve always wanted a log cabin quilt but never seem to get around to making one – helping my mum right now make this beautiful one…can’t wait to see that one finished.

So I thought since I’m making one now for my Pizza Box Challenge I would do a tutorial on piecing them together the easy way.


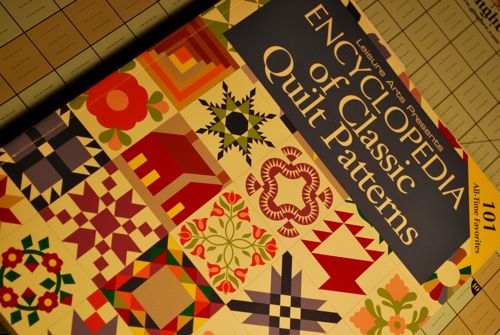
First I found one of my favourite quilting books on blocks

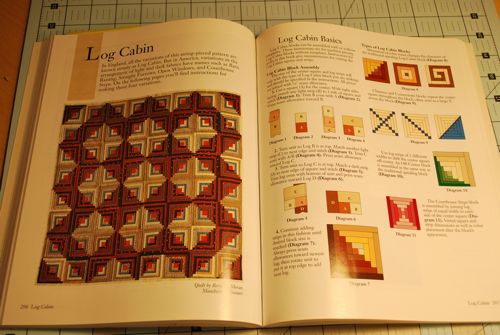
Found the log cabin option pages

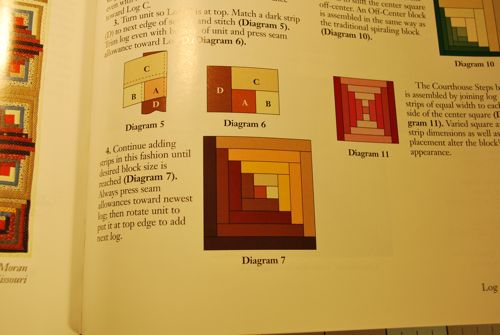
The block I wanted to complete (Diagram 7) and figured out my final size which will be 9″ and I wanted the one with the contrasting from one side to the other with the red block in the middle. The red center block dates back to civil war times and it generally means heart of the home. I chose 1.5″ widths for my strips.

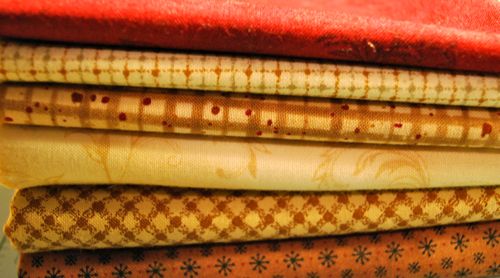
I chose subtle blues (4)

red for the center square and tans and browns for the light side of the block


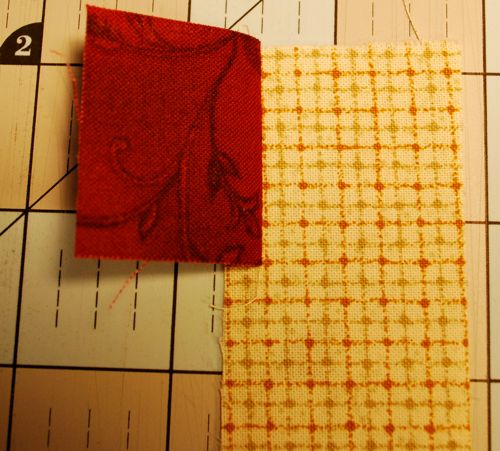
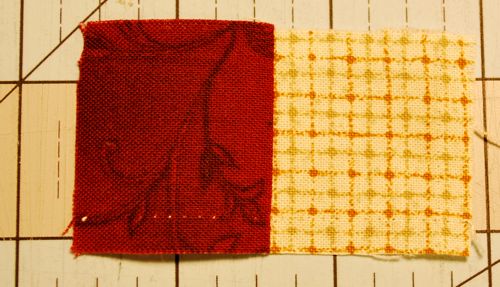
a) sew your center square 1.5″ x 1.5″ to the 1st tan as in Diagram 7

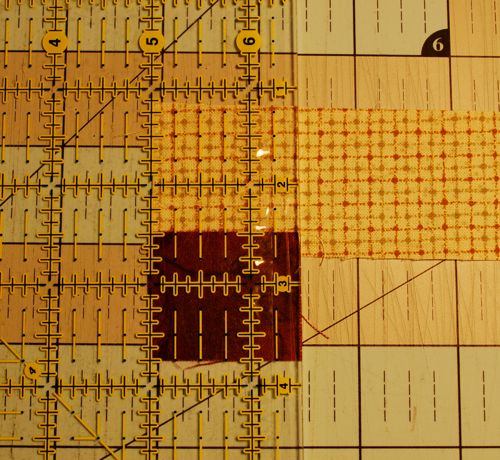
b) line up your ruler and cut the excess of this first strip off so it’s straight

c) finished center

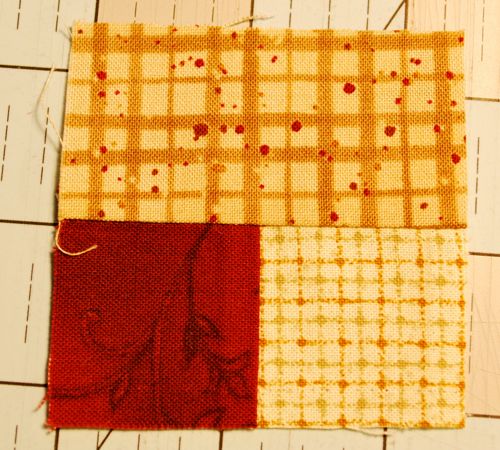
d) add your next strip on (unfortunately I cut mine prior to taking the photo)

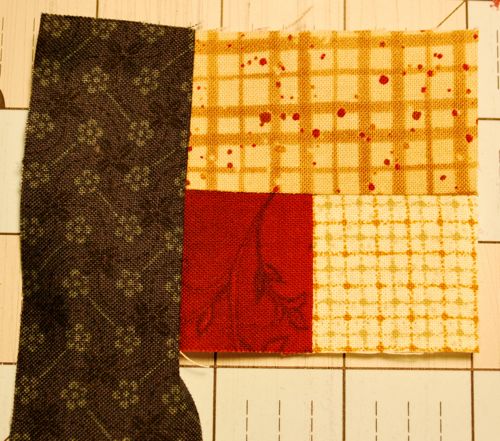
c) add you next 1/2 round of blues on both sides (see Diagram 7)

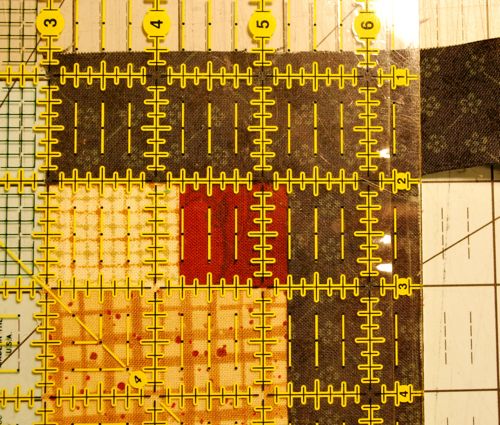
c) cut excess of blue off


make sure you press well on the wrong side keeping everything nice and straight

d) next 1/2 round of tans

e) remember to do both sides of the half

f) continue on until you have the desired size or equal rounds or both 😉

g) final round – press well and your done!!

any questions email me or leave a comment