Log Cabin Tutorial, Pizza Box Challenge (entry 18)

Hi Ya’ll, (I just like saying that as you Texan’s always sound so fun with your drawl accent)

As you know I’ve started a pizza box challenge (thanks to Boston Pizza for donation the boxes for us – so generous of them). I’m on my way to a retreat on the 2 & 3 of October so I had to get my block completed for the pizza box challenge.

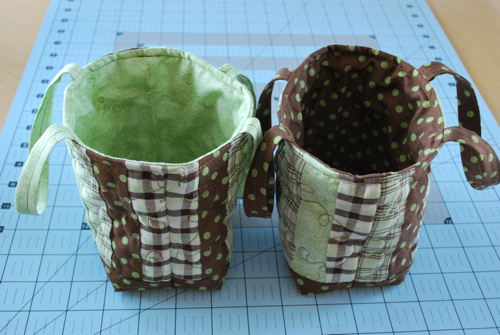
I’ve always wanted a log cabin quilt but never seem to get around to making one – helping my mum right now make this beautiful one…can’t wait to see that one finished.

So I thought since I’m making one now for my Pizza Box Challenge I would do a tutorial on piecing them together the easy way.


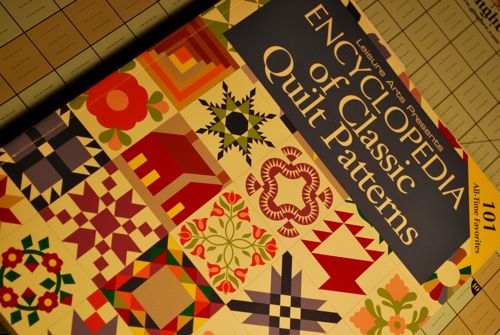
First I found one of my favourite quilting books on blocks

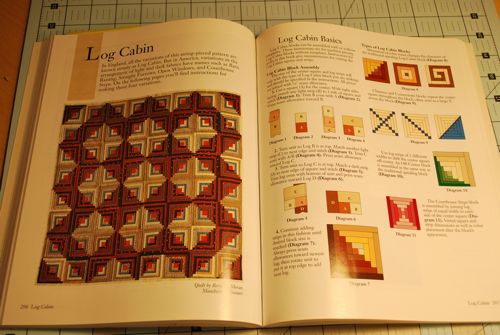
Found the log cabin option pages

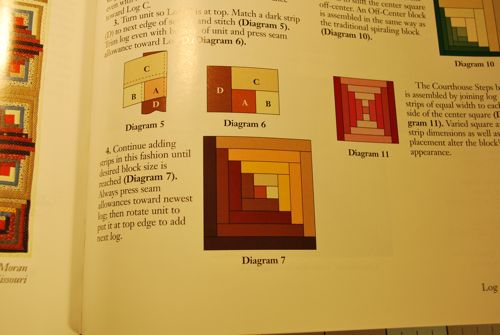
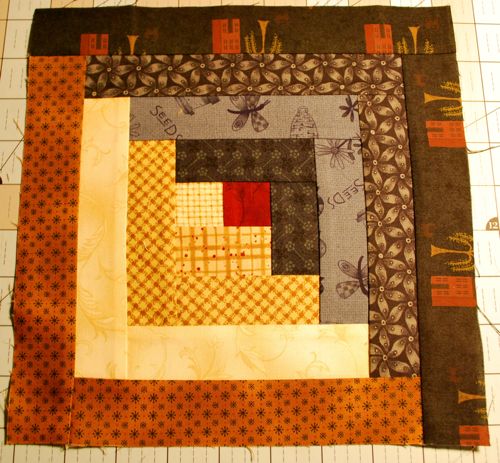
The block I wanted to complete (Diagram 7) and figured out my final size which will be 9″ and I wanted the one with the contrasting from one side to the other with the red block in the middle. The red center block dates back to civil war times and it generally means heart of the home. I chose 1.5″ widths for my strips.

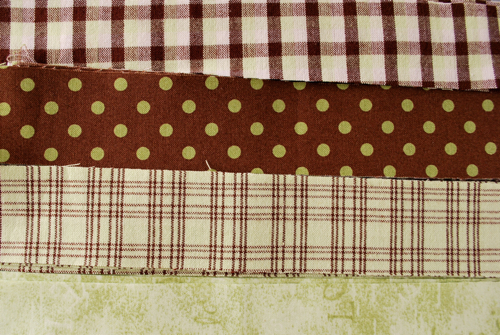
I chose subtle blues (4)

red for the center square and tans and browns for the light side of the block


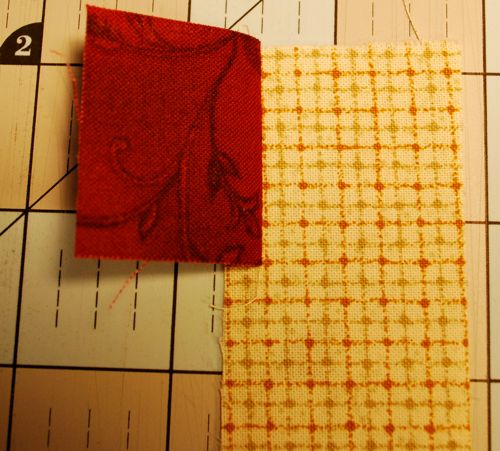
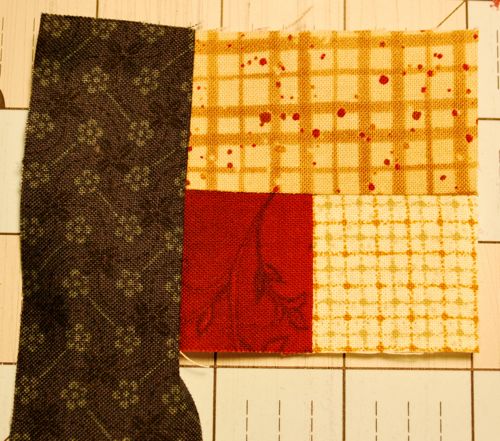
a) sew your center square 1.5″ x 1.5″ to the 1st tan as in Diagram 7

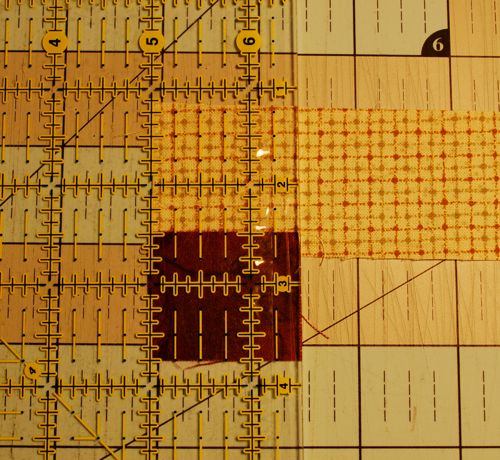
b) line up your ruler and cut the excess of this first strip off so it’s straight
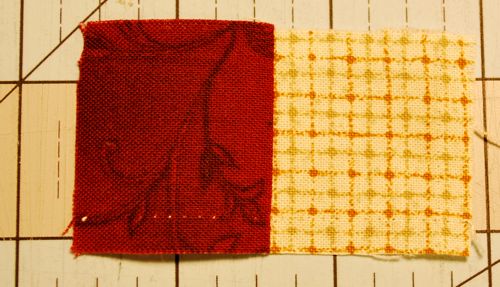
c) finished center

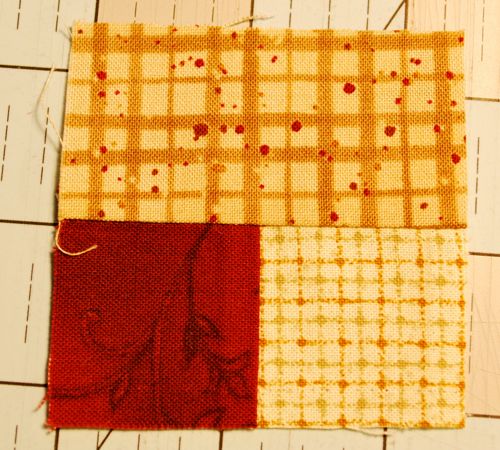
d) add your next strip on (unfortunately I cut mine prior to taking the photo)

c) add you next 1/2 round of blues on both sides (see Diagram 7)

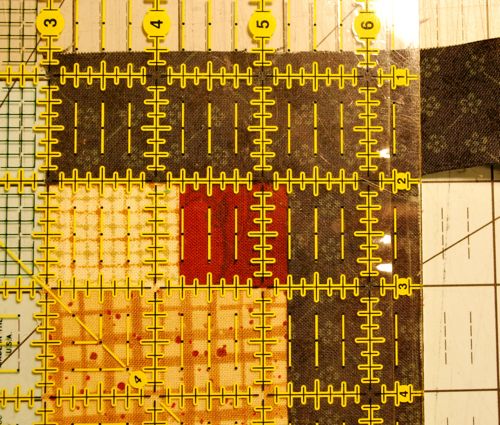
c) cut excess of blue off


make sure you press well on the wrong side keeping everything nice and straight

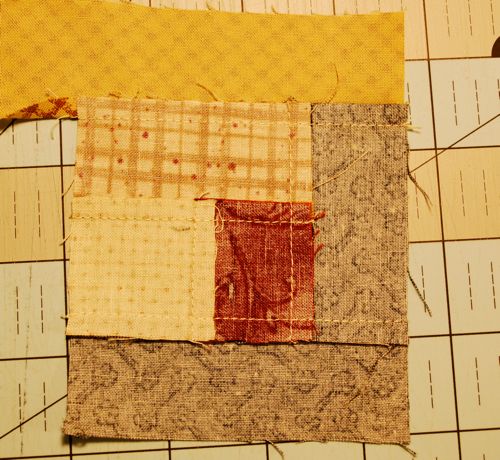
d) next 1/2 round of tans

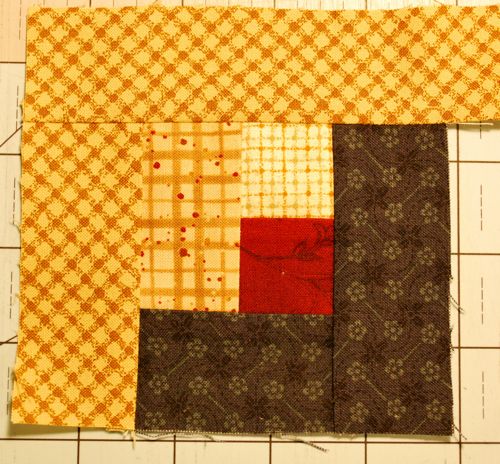
e) remember to do both sides of the half

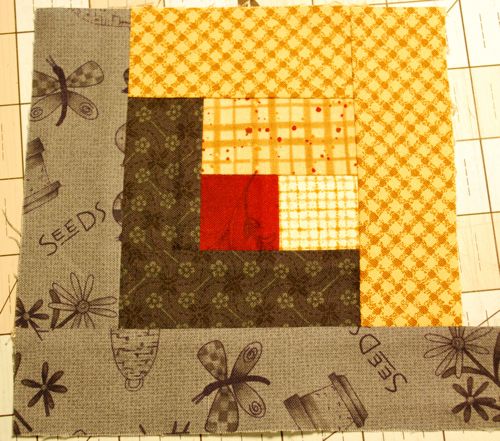
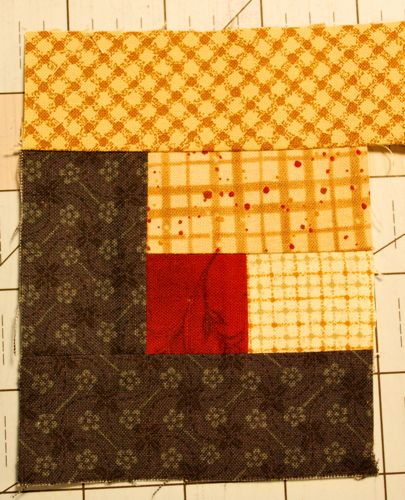
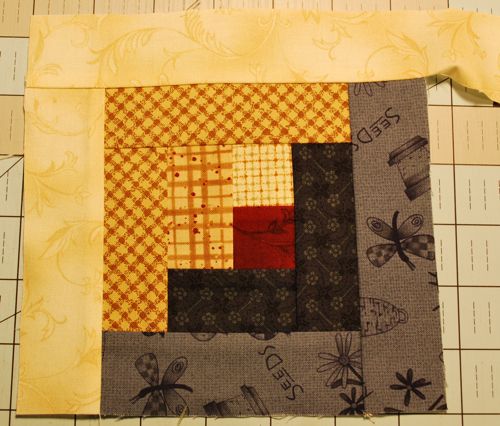
f) continue on until you have the desired size or equal rounds or both 😉

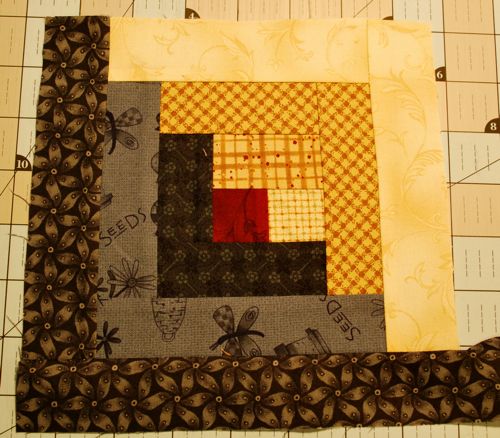
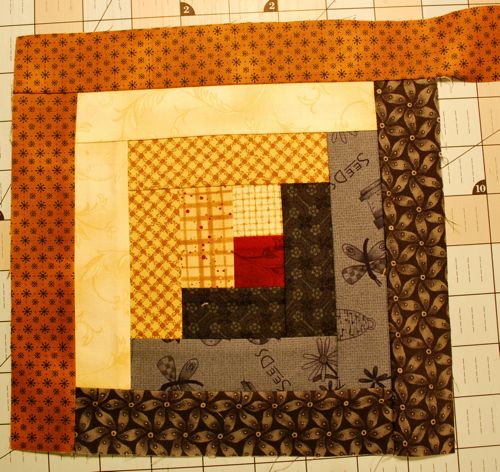
g) final round – press well and your done!!

any questions email me or leave a comment

Freebie 15, Block 11, Upcoming Challenges, Aprons (entry 17)

I absolutely loved this block – it is so cheery and fun!!

I was a bit worried by the amount of pieces we had to piece together but in the end, step by step, it worked out awesome.

Here’s my pile of pieces after I cut them following instructions…

Here’s my finished block – I love it!!

Valerie


Now that September is upon us…all of the Guilds have started back up again and I belong to 2: Lakeside Quilters (my home town Guild in Chestermere, AB) & Flying Needles which is out in Millarville, AB. 

Lakeside Quilters I’m working on some of their projects – mystery quilt (this is when you get cutting instructions, amounts/values of fabrics and block instructions but you don’t know what the final quilt will be), Raffle Quilt project of some sort as we do this one every year.

Flying Needles Quilt Group I’m working on quite a few things – maybe over extended myself just a little 😉

Mystery Quilt – which I don’t know what it is this year as in the past I have helped with them, Jan B has redesigned this one and will be sending the instructions to me to lead

This is a mystery that we did a few years back – I embellished with the bias vine around the outside border and leaves but you get the idea.


Pizza Box Challenge: this is when you come up with the first block or the “theme” of the quilt you want add .5m of fabric and pass it onto the next person. There is usually about 9 blocks completed at the end that are yours, then you come up with the finished quilt. Here’s a pic of mine from several years ago.

9 blocks in total, the block I started with is the top left

This was my very first time with free motion quilting, here’s the close up – I’m pretty proud of my first time;)

Here’s the back I strip pieced it to use up the rest of the fabric. I also have this one for sale on Etsy if you are interested.

Apron Challenge: I made this one apron a while back and it’s hanging in my kitchen but I’m going to go hog-wild with this new challenge – not sure yet what I’m going to do but I love how big aprons are now – don’t you?


Here’s the one that is hanging in my kitchen.


My mom loves to make aprons and I know she is making a whole bunch more when we go on our retreat Oct 2nd to Rustlers Lodge, Sundre, Alberta. but here’s a bit of a preview of some of her other aprons..


Left to Right: SIL Colleen M, MIL Sandy M and me. Arn’t these the cutest aprons!! Thanks Mum!!

More to come…Valerie


Friendship Bag Swap – Finished!! (entry 16)

I was so excited about this Friendship Bag swap through Quilting Bloggers that I couldn’t wait to get right in and make one…or two *smile*

I went through my stash and found these colour which I thought were perfect!! Chocolate brown and lime green – heavenly;)

here’s my colour selection – green and browns with a few stripes!

Close up for you

First Bag finished

Bags finished – since I was making one – it took just a tad bit longer to make the second one at the same time.

Which colour option do you like the best? email me valerie@pastimesonline.ca

I love these little bags…”look out hostesses do I have a treat for you!!”

Valerie