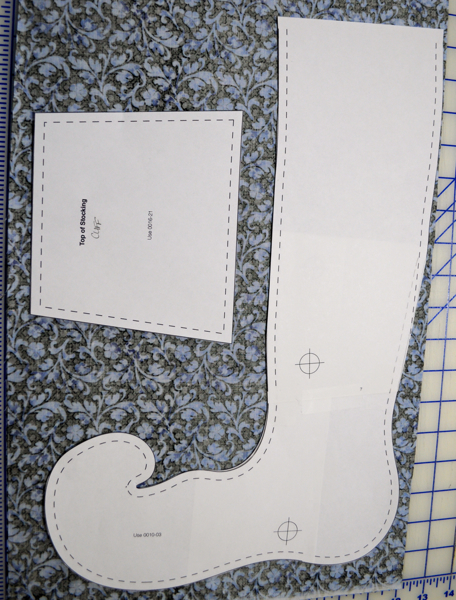
I put a shout out on my blog for a good stocking pattern and one of my great club members Sandy sent me this link, it’s perfect. This stocking has the Elf toe which I love and it’s pretty easy to put together. Please download it here.
Now for printing, you can just print out the pattern templates we will need as we don’t need the middle extension section. Please also refer to these sewing instructions in the pattern, my tutorial is just to help out.
1) layout to make sure you have what you need. I’ve shortened this stocking because 24″ was just too long (you can only bake so many cookies for one person). I removed the extra lengthening piece and shortened up the middle. The overall length is approx 17″.

I overlapped the middle of the “calf” part slightly also. Cut off the extra around the calf area so it’s the right width, tape your pieces together.
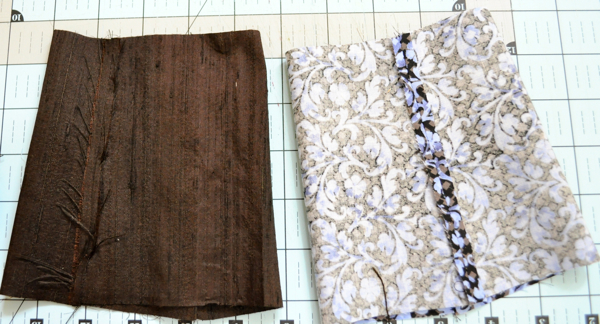
choose your fabrics, you can do this with fat quarters because the height isn’t over 18″ and neither is the width. You will need 4 fat quarters 2 of colour a and 2 of colour b. I chose the chocolate brown silk and one of the fabrics from Eclectic Garden.
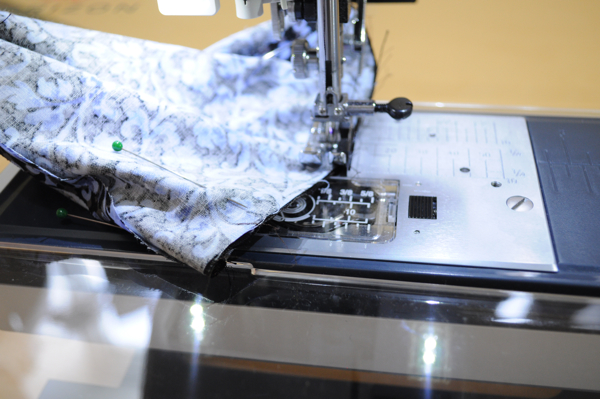
Fabrics right sides together, layout and pin your templates down, pin in place.
same for your lining

now you have 4 pieces for the sock and 4 pieces for the cuff. You are going to sew the two stocking pieces wrong sides together in a basting stitch, make sure your seam allowance is within your 1/4″ so you don’t see your basting stitch. Another tip, use matching thread this way it’s more forgiving.

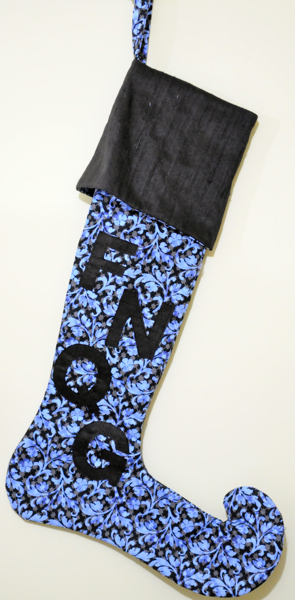
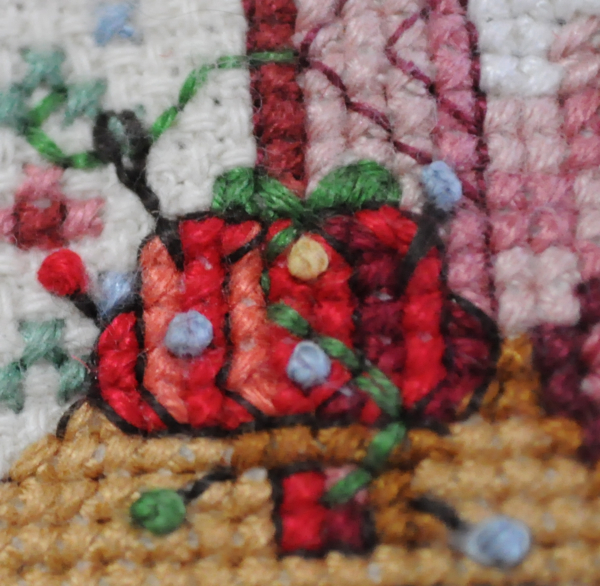
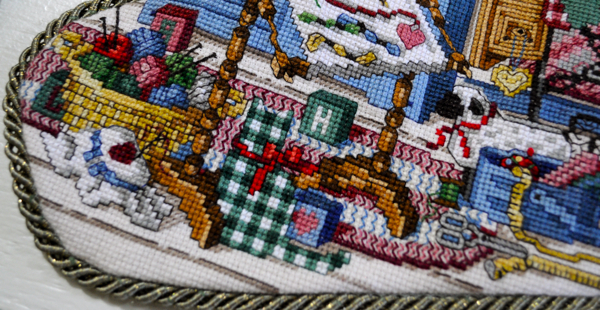
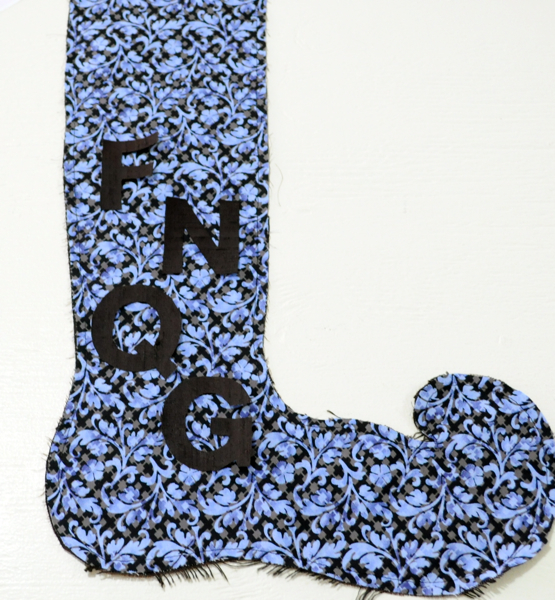
Onto the applique, if you remember I did mine for the FNQG (Flying Needles Quilt Guild) and Colleen did here’s exactly like the original. Experiment ladies, put other sayings or applique a star or tree or a Christmas ball on this sock, make it original :). I used of the left over silk for the applique letters.
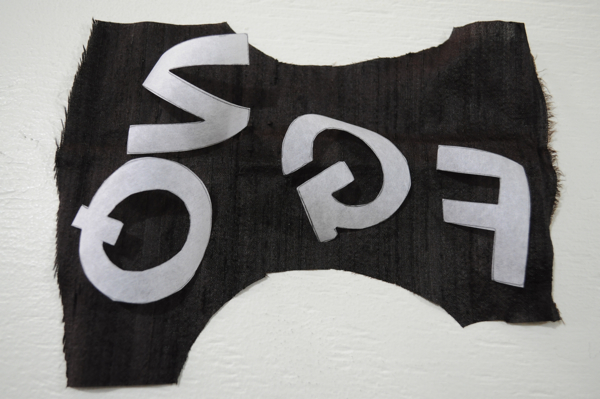
or cut out the Joy and the star as per the instructions …

Here’s a little crash course on applique, first trace the shape reversed onto the wrong sides of the fabric, then fuse with a hot dry iron. Cut out with super sharp scissors. Then score the backing of the fuse with a needle so you can remove the paper with wrecking the edges of your shape.

score the paper with your needle

then lift it with your needle until you can grab it with your fingers and remove the paper this way.

Because of I chose the letter FNQG they seemed to look better with the toe on the right, you need to determined which way you want your toe facing.
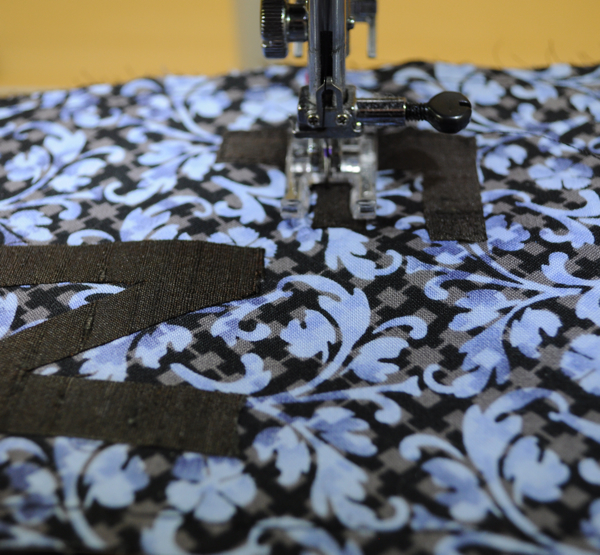
Stitch your applique down. If you are doing applique on the cuff portion, refer to step 3 on the instructions.

Clip all of your curved edges before you sew the two stocking sections together, this way it will lay flatter once turned right way.

hanging strap, press in the middle, then press each long side towards the middle, fold in half and stitch down the center to secure.

sew your two stocking pieces right sides together, (after clipping seams) and turn out the right way. Tuck your cuff into the top of the stocking, remember which way your want your cuff to be (lining facing out with applique showing) so pin this and double check before your sew. You also need to tuck your hanging loop in here, you want your loop to be opposite your toe 😉 of course and you want the end of the loop to be hidden in the seam allowance (this was tricky for me) so take your time here.

Turn everything the right way and press really well. You’ve completed your adorable stocking Christmas exchange. I see magazines, baking, and so many adorable little goodies. Good Luck Ladies!!