Hi Ladies, thought I would share a quilting tutorial of one of my favourite techniques: Chenille. For those of you who have never tried this or who don’t know of it…enjoy.

1) Use contrasting fabrics to get a good effect. Mine are blue, beige, blue reversed, orange marble, beige b, stiff interfacing, dupioni silk with fuse right side face down as this is my lining. You don’t need the interfacing if you are using the chenille blocks in a quilt. I based this tutorial on my new Scissor Keeper pattern and kit (to come)
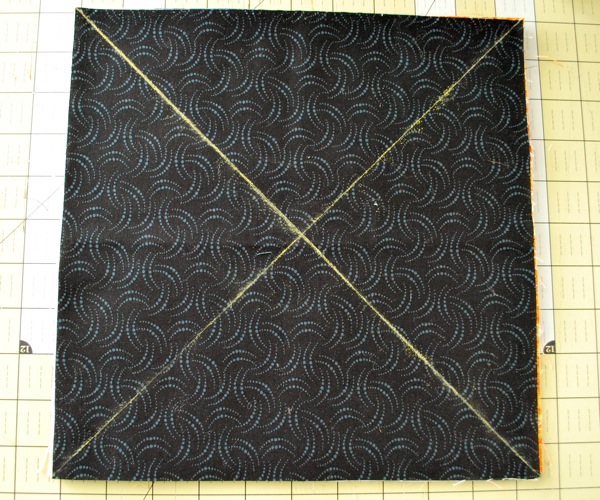
Line the edges of your fabrics up in a nice pile, mark “X” with choco-liner
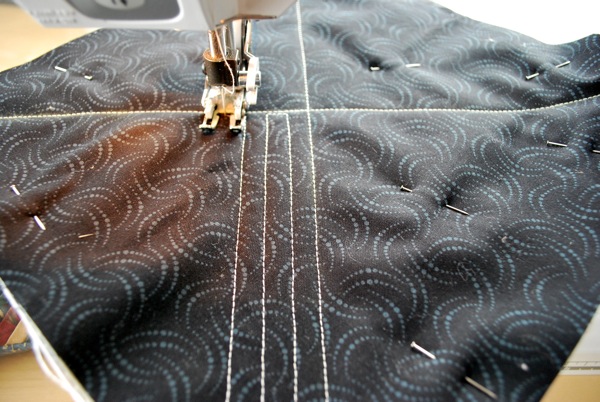
Sew the cross lines then begin to sew the chenille lines using your foot as your width guide
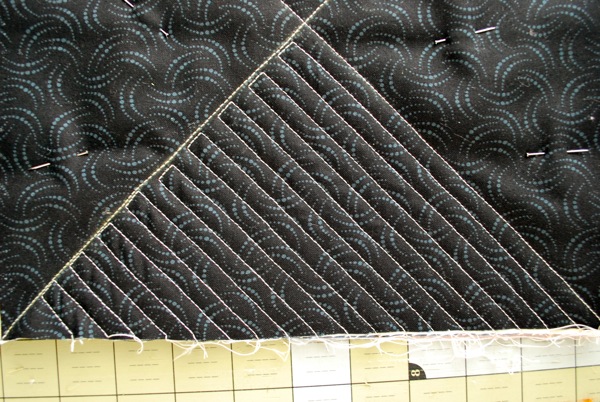
finish each quadrant the same way

Once you are done sewing, cut in between each sewn line, in all sections in all quadrants. You will need the sharpest scissors you own as you will be cutting through the top 4 layers. Again, if you are doing these chenille blocks for a quilt you not use interfacing and you will cut through all top layers.
Rinse really well in cool water (if using silks) or warm water if using cottons, you want this to be completely soaked make sure you get every layer. Dry, you may want to add this to a load of clothes so there is some substance in the dryer to help the chenille process.
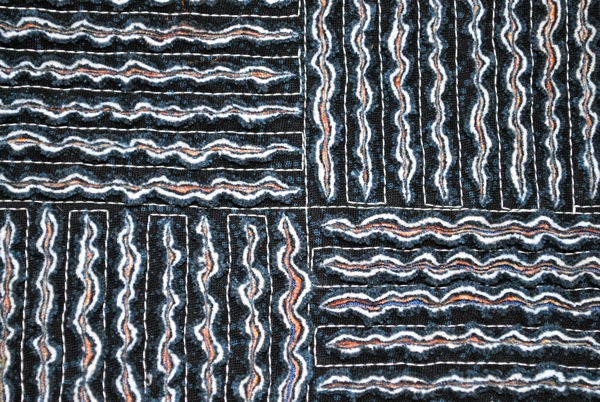
Here’s what it looks like once washed and dried – don’t you just love it!! It’s so warm and cozy 🙂
Have I got you inspired?
Here’s projects I’ve completed using this technique, some of you might have seen:
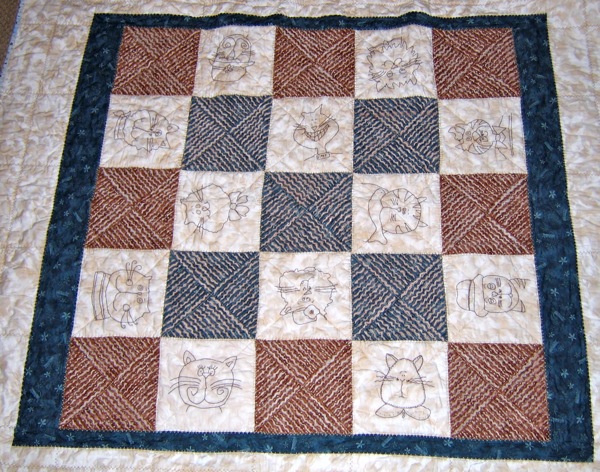
for my niece who loves cats.
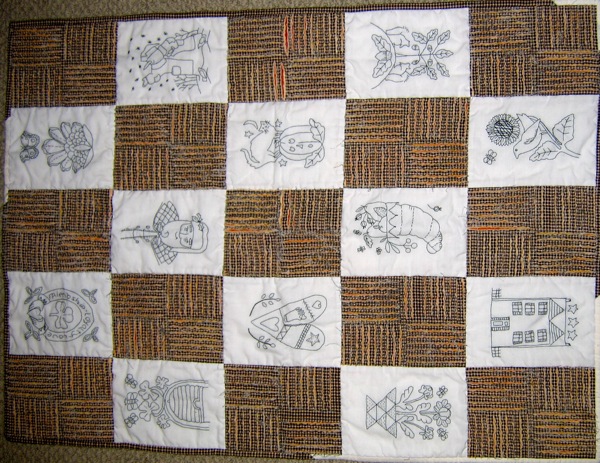
monthly embroidery project that I added the chenille too.
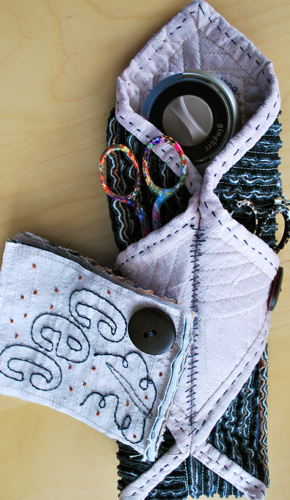
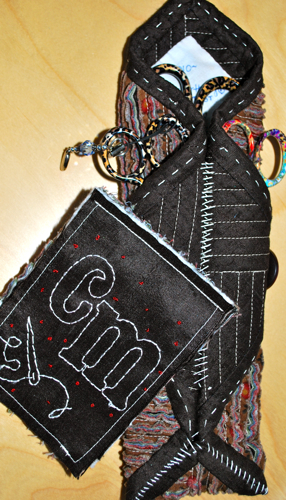
My newest pattern, Chenille Scissor Keeper with matching needle keeper
This set is for my Mum, which she loved!
for my SIL, and she loved this also…
Any questions, just email.
for my SIL, and she loved this also…-Rado DiaStar watches Swiss
I really like your style hublot swiss replica
and taste. I shall read your blog more often in the future.most of your fashion hublot eta strap buy
picks will also be on my wish list, for sure. I don’t know whether you like (this), either.bell & ross replica china