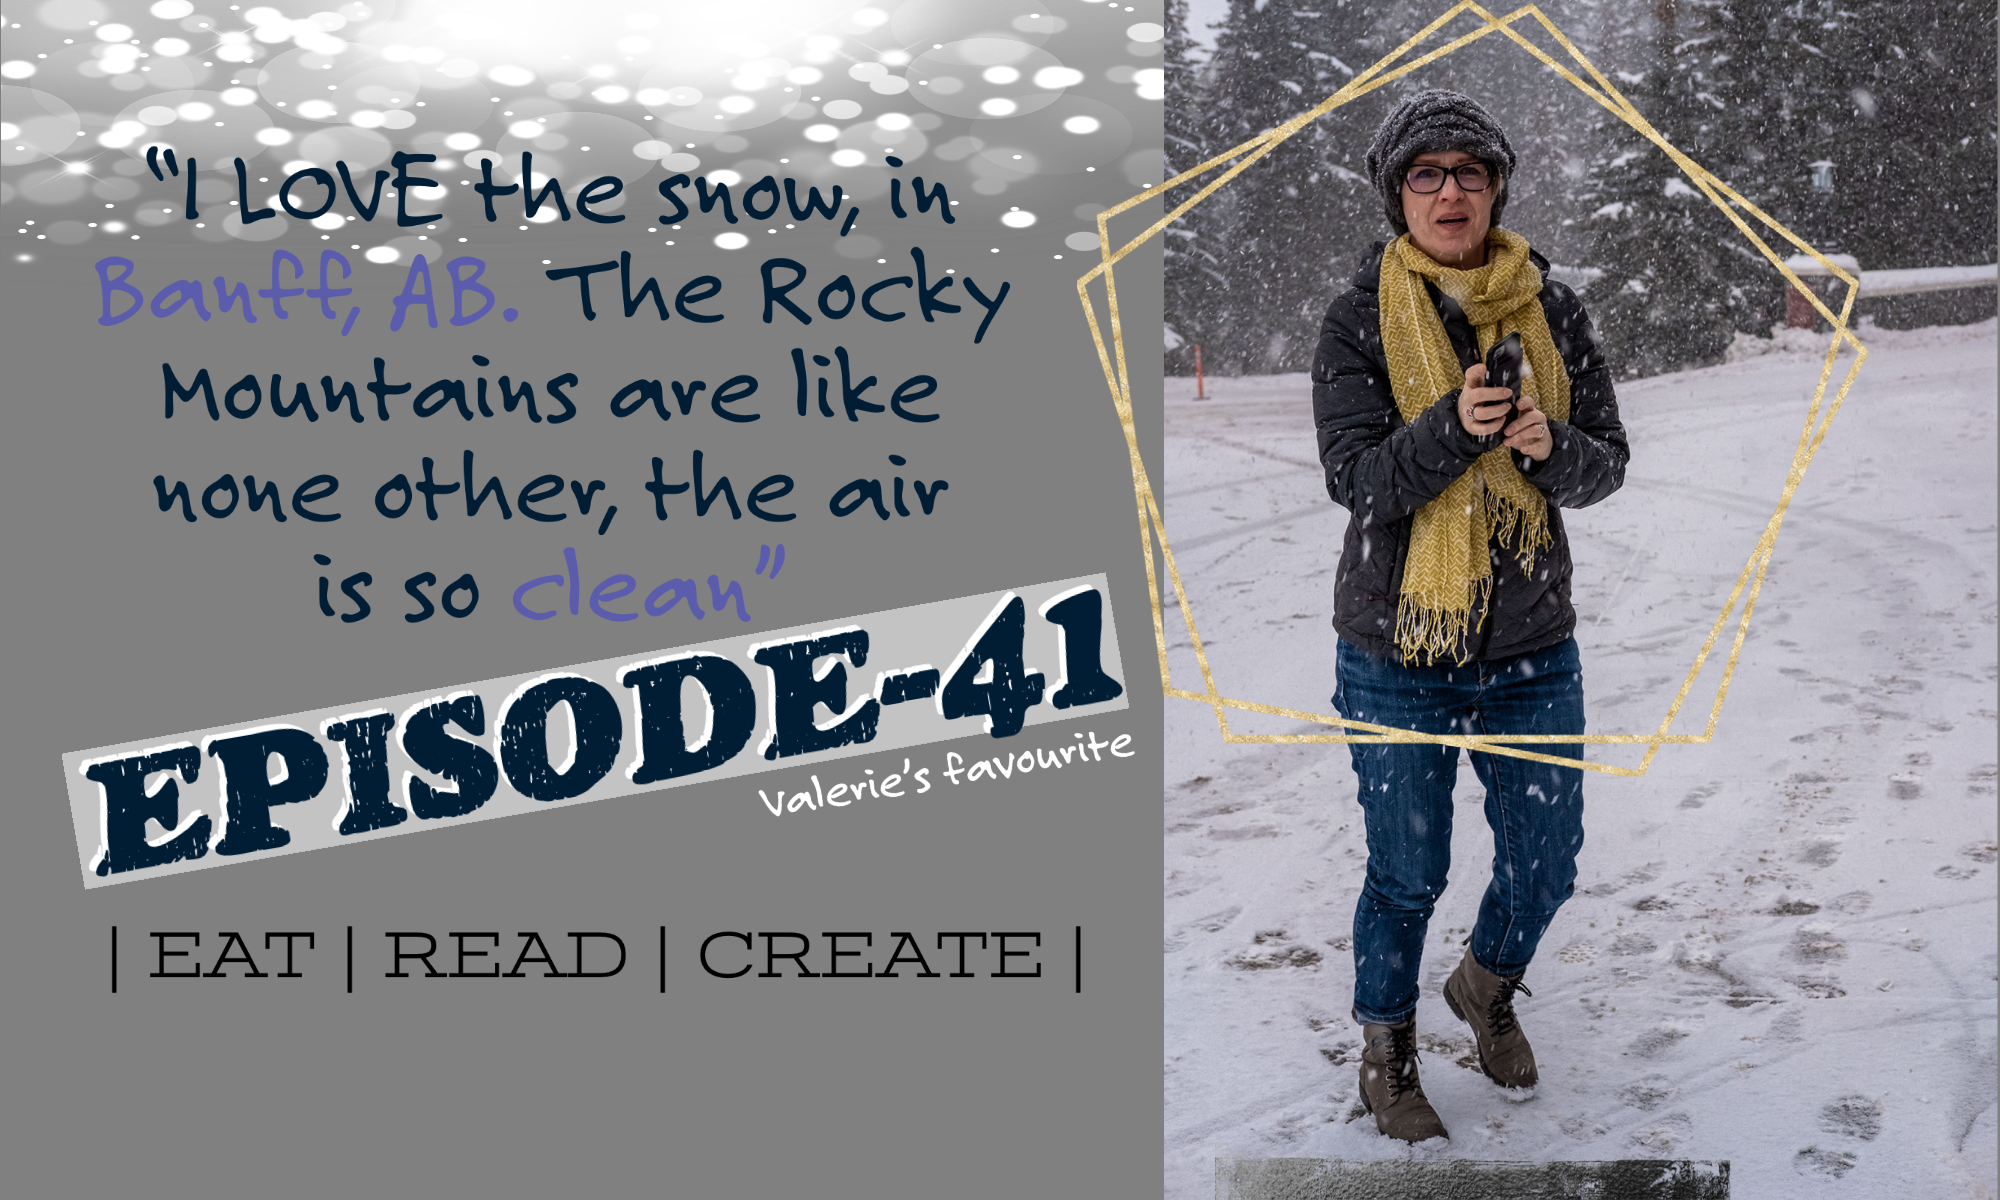
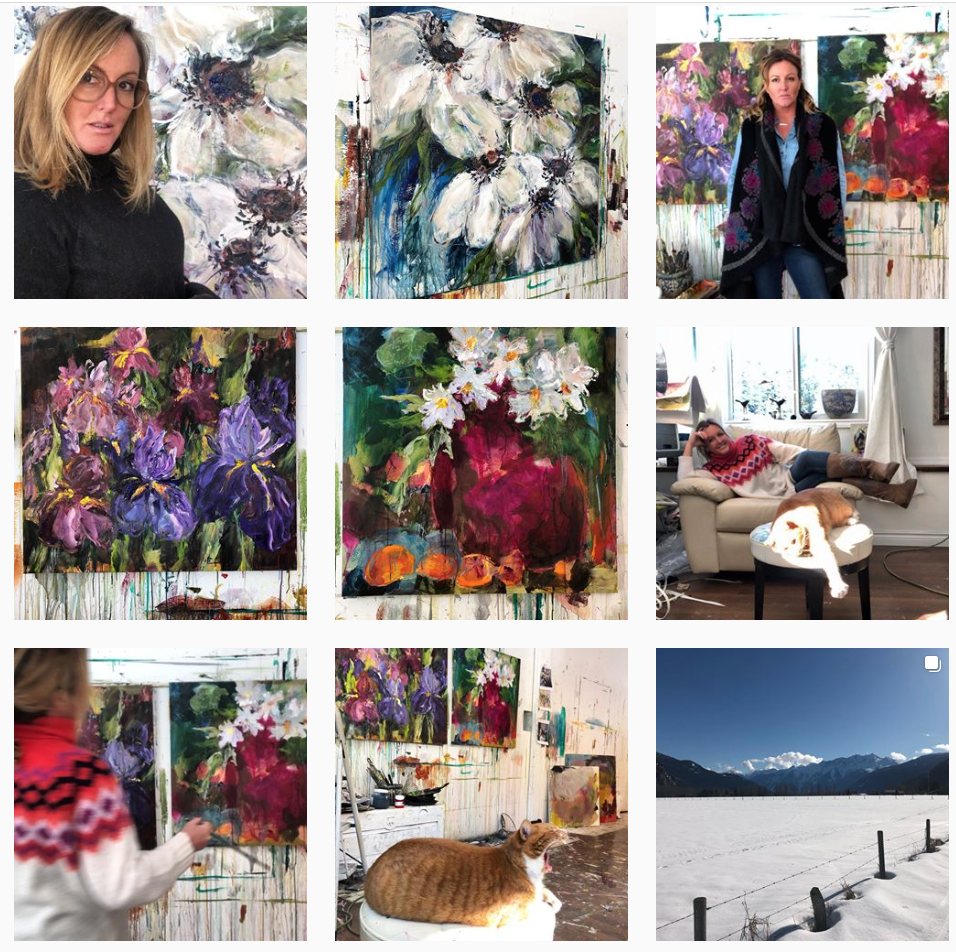
Since this new season is all about EAT | READ | CREATE this is the perfect time to not only interview an amazing creator but her name is also Valerie – enjoy part 1 of 2 over the next couple of days as we get to know this incredible painter Valerie Butters from Pemberton, BC, CANADA
We talk about her studio, places she worked and got fired – shameless, is a good word to describe this Valerie – she lived in Greece and is still connected to them…and Albanians and they are the toughest people she’s ever met – lovely people. She speaks Greek in an Albanian tone. She turns the questions on me, once thing about Valerie’s is – they love to asks questions too…enjoy part two and the final part of these episode with Valerie Butters…check out my site with maps of where she lives (wine country)and places she’s lived for short spurts. Here’s a bit of a disclaimer in this episode, a couple of swears are present and some of the content is adult only…be prepared to laugh your *asses off, we’re a bit hard on her mom but it’s all in good fun! And guess what, you’ll learn a little about me to along the way…enjoy the show, visit the show notes for links and details as usual it’s all on my website!
(Because this show was recorded in August of last year, there’s been a wealth of changes in life since then as you know…And we both have very old cats her Mimi is 20 and my Tig will be 19 this year! and she also has a Jim-Bo)
In this series on the show the ‘Valerie’s series where I’m combing through the Emily’s, Christine’s Danielle, Jennifer’s and Michelle’s looking for the Valerie’s of the world. I rarely come upon women with the same name as mine. Once in Calgary and she ended up being a Valora.
Since this new season is all about EAT | READ | CREATE this is the perfect time to not only interview an amazing creator but her name is also Valerie – enjoy part 1 of 2 over the next couple of days as we get to know this incredible painter Valerie Butters from Pemberton, BC, CANADA
Also if you follow her on Instagram you won’t be disappointed she shares stories, her amazing works of art. her cat, Jim she’s always providing commentary and life lessons, reflective comments oh year and so much humour!
Valerie Butters IG feed…incredible artist
Thank you for listening today and visit my show notes for details from todays show…also follow me on – the second part of this Valerie Butters showcase will be released tomorrow..stay safe at a distance people!
(Because this show was recorded in August of last year, there’s been a wealth of changes in life since then as you know…And we both have very old cats her Mimi is 20 and my Tig will be 19 this year! and she also has a Jim-Bo)
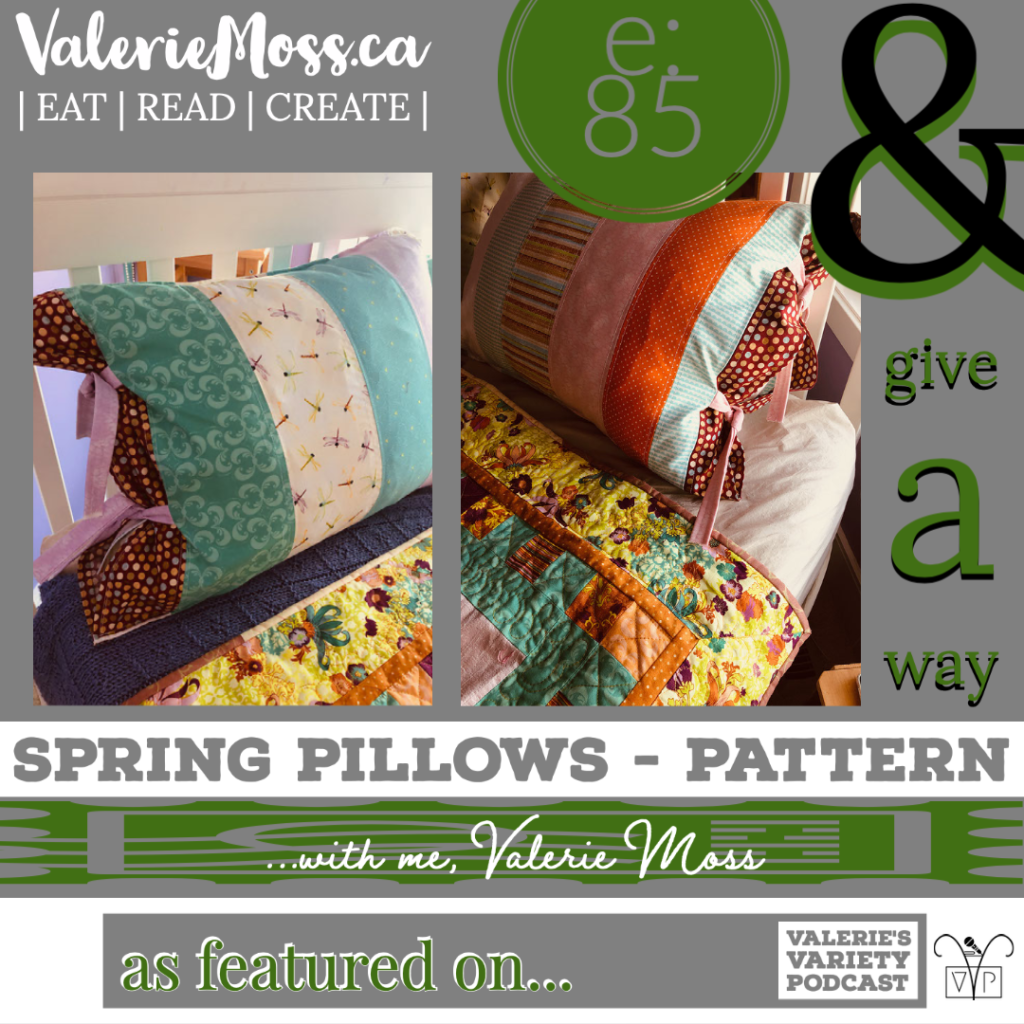
Todays show is all about CREATING – freshening up for Spring with a finished quilt top and matching pillow cases – this pattern I’m going to share with you today will be available on my blog and details here…if you’re not a sewer or a quilter, don’t fret just pass this episode onto those people and they will be forever indebted with this valuable information JK, just showing a little Spring in my step today for you to share with your friend or family member that is a crafty sewer. – and yours truly will give away a set or two to whoever tells me their favourite Spring Story – it could be about easter, gardening, spring cleaning, you tell me and I’ll make you a set of these pillow cases (in your favour colours and in the size of your favourite pillows – sound good?)
So..years ago I made this quilt, Truly Scrumptious by Cinderberry Stitches as part of my block of the month program when I ran Pastimes Online. This quilt was The date of this post was Oct 2010, yes so many years ago now. BUT when I made this quilt I was hoping to be pregnant this year and was secretly or openly hoping for a girl…
Well made the quilt, did get pregnant and then promptly tucked the top away for another day when I could finish it….well people this quilt is now finished with…matching pillow cases.
Tie Closure
Tie Closure
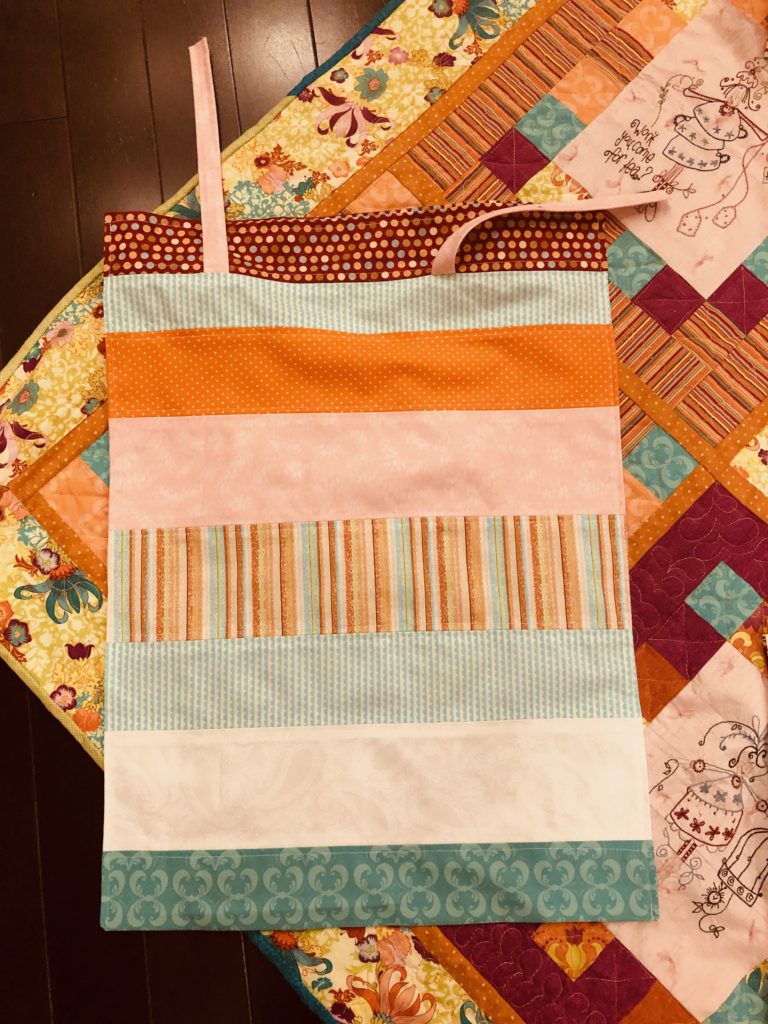
Spring Pillow, #2
Spring Pillow, #1
Spring Pillows with matching Quilt, Truly Scrumptious
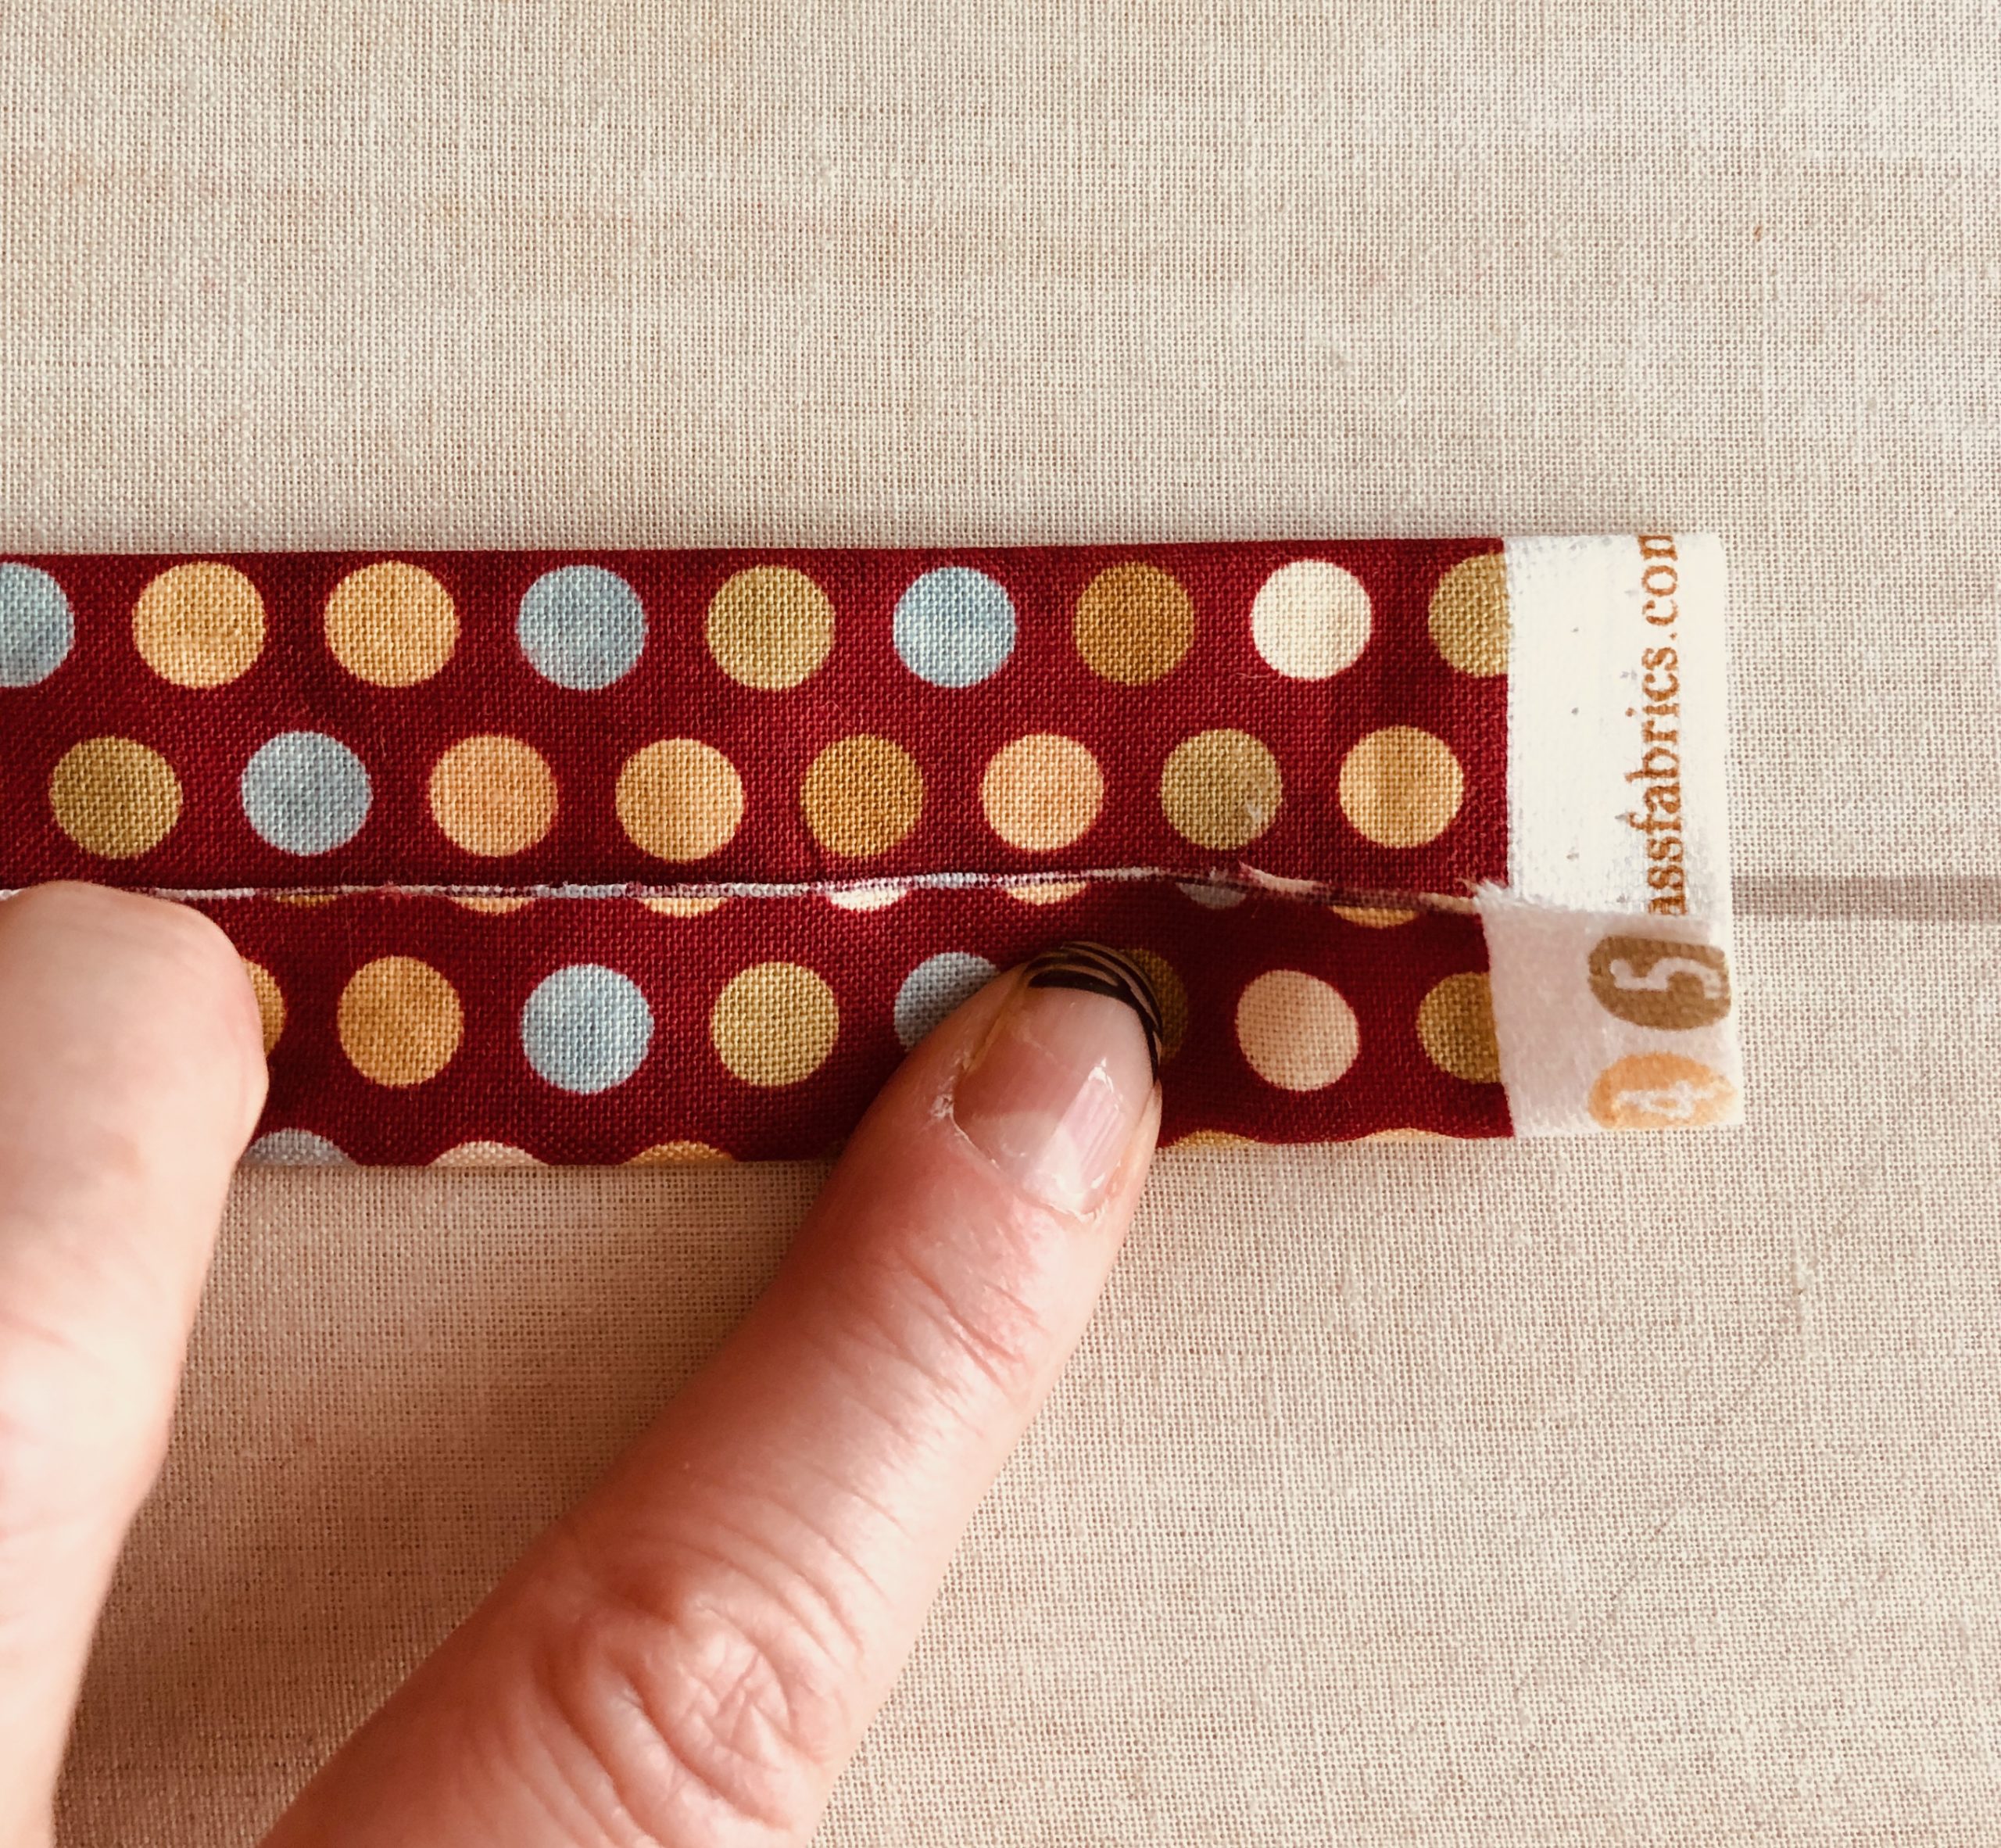
Step one fold, fold into 2
press and fold together hiding the raw edge
since finished edge showing
Making the Ties
Made for London
Love Mom
April 2020
my labels have changed to this style…can you see it?
FIRST
Dig out that old quilt top that you haven’t finished 🙂 then prepare to sit down & listen to a good book, I listened to a new book by Joy Fielding, The Bad Daughter and go through your thread stash, find your favourite colours to match and bobbins wound and enjoy your time finishing this new quilt…well new because it’s been stashed for so long.
SECOND
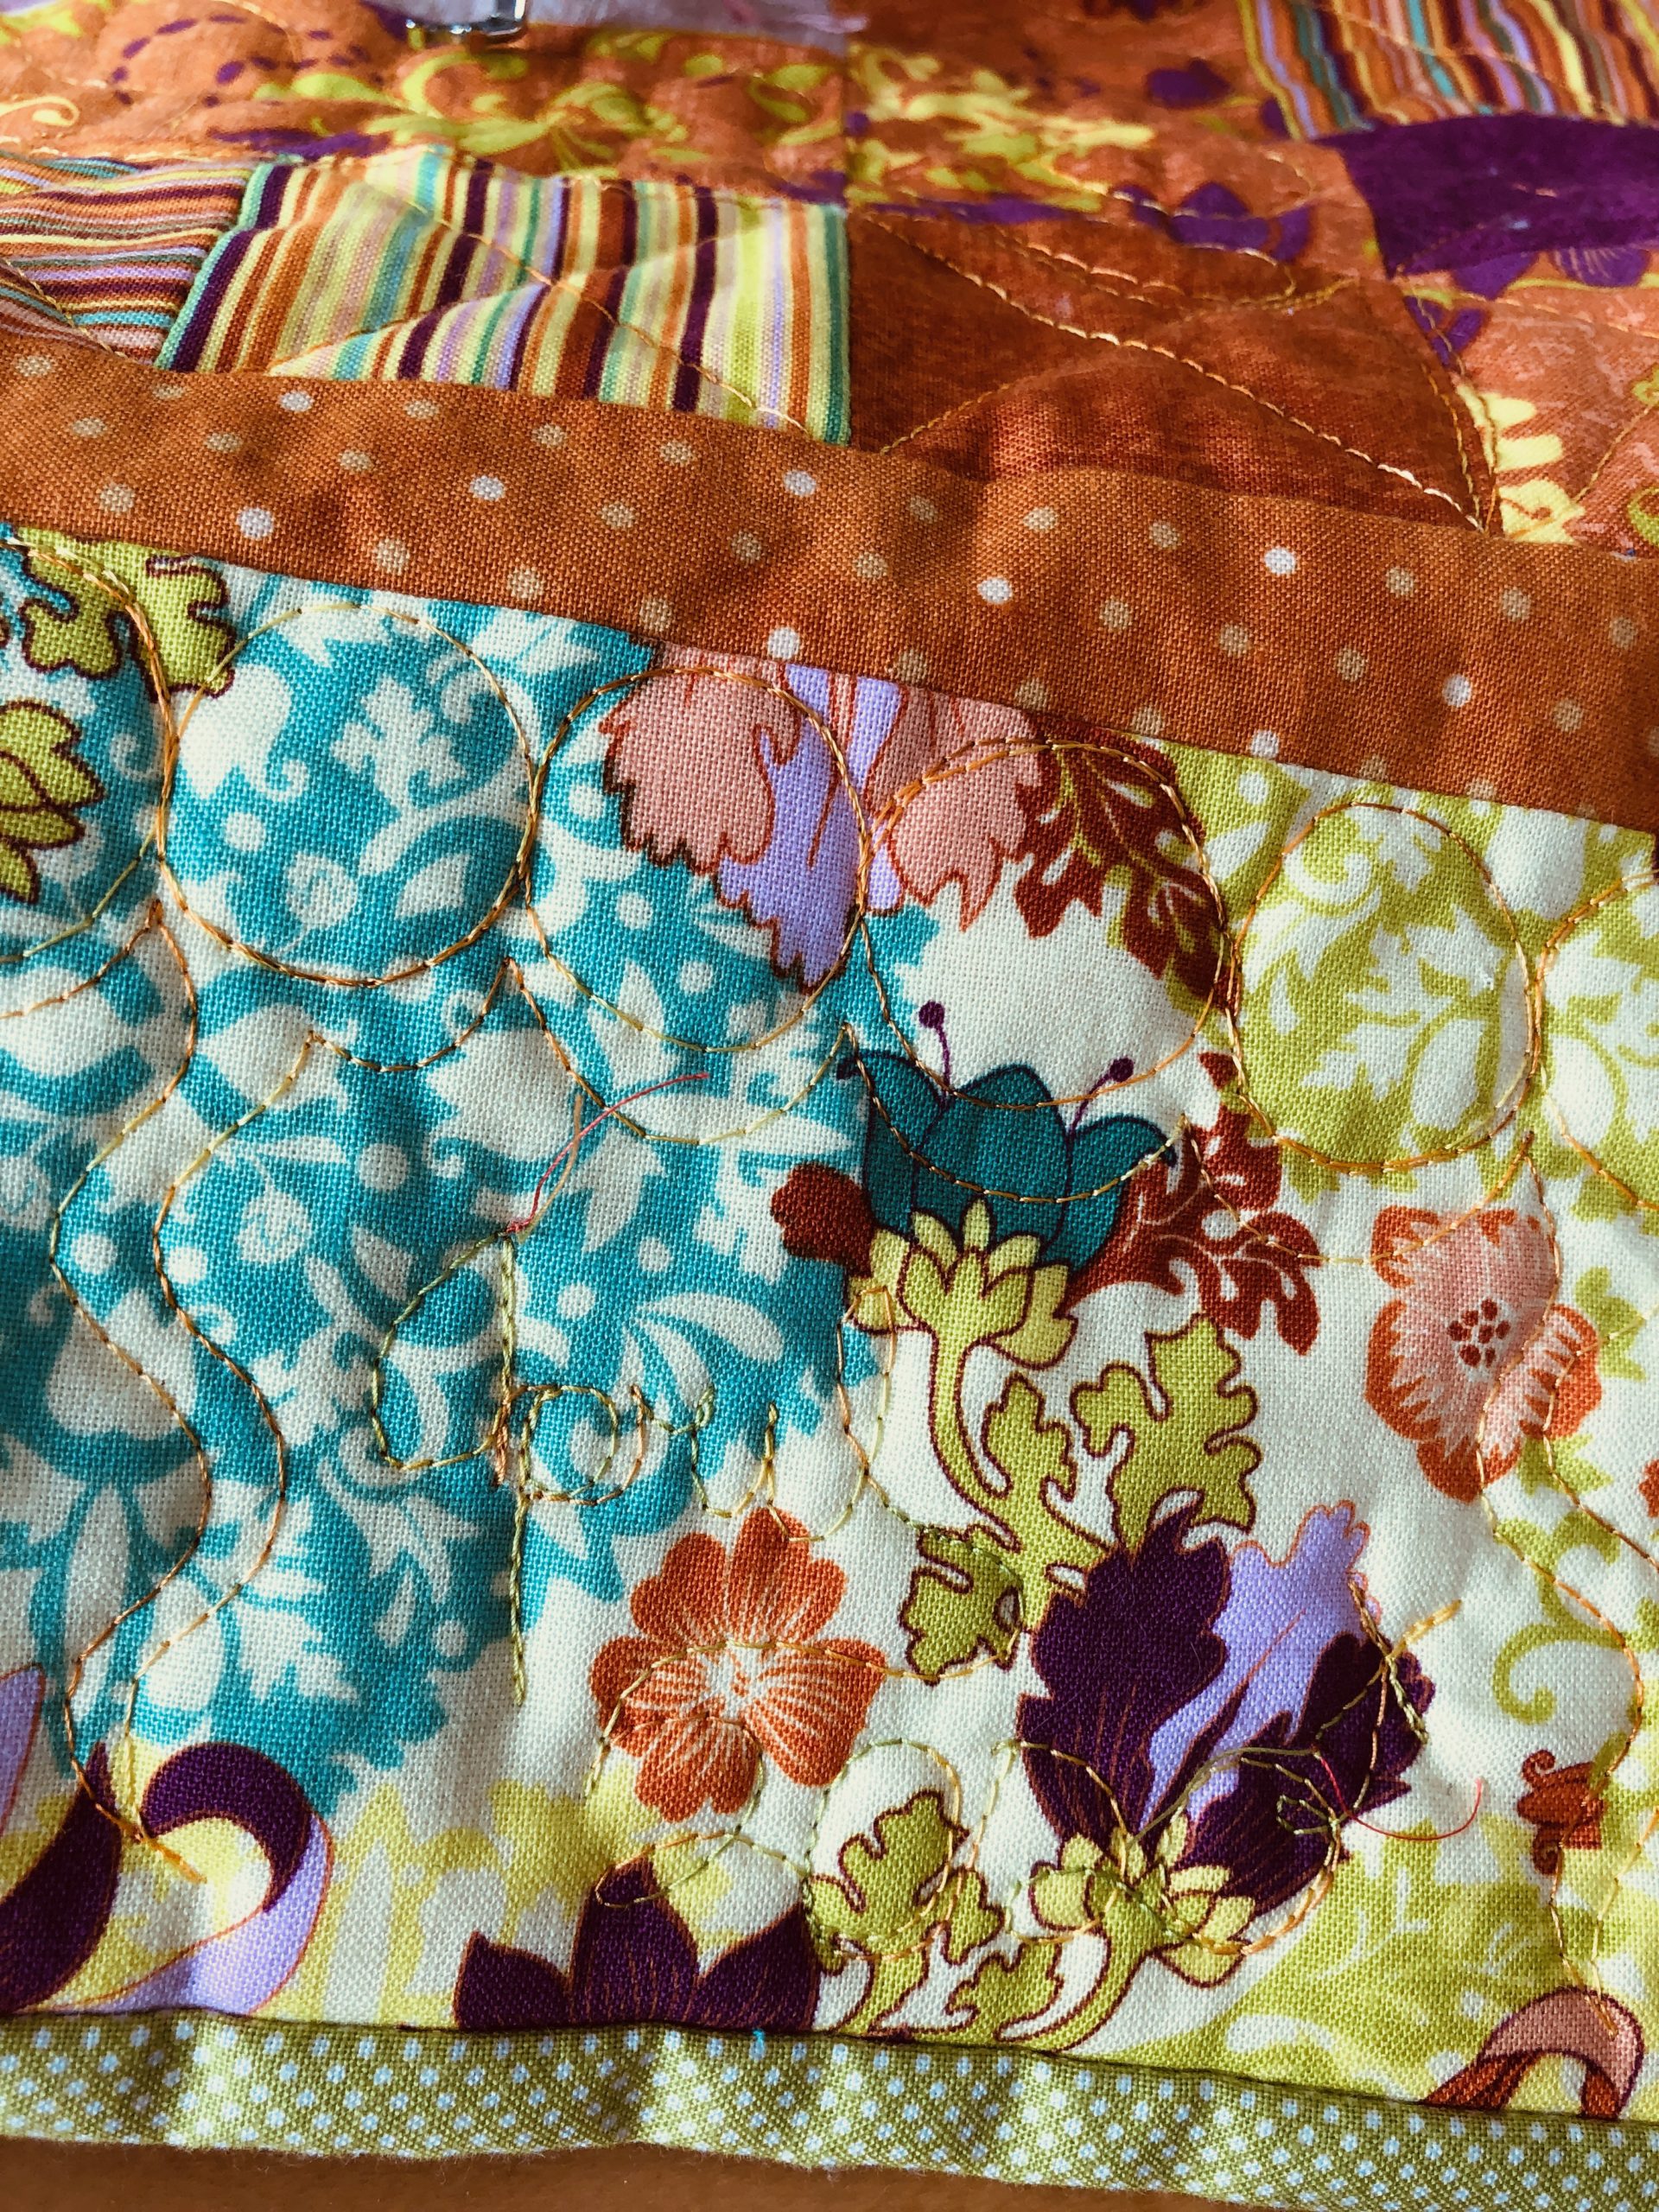
Quilt until your hearts desire, and then bind, bind, bind…one of my favourite parts, I love this finishing touch, it’s so rewarding, tucking in that final raw edge and completion the border, smooth and crisp.. But when it comes to a label I always groan, now I have to write something up and add a separate piece of fabric to the back – where to put it and make sure you don’t stitch through to the front…
Here’s another one I did years ago 2013 for my niece and I just love the way it turned out…if you can do free motion, you can do this label on the front of your quilt, just find a good spot and measure out your words (first) then just have fun. I pull the bobbin three to the front, leave it long then tied it scrappy, make sure you date it and put your name…especially if you want to show off all of your hard work 😉
label from the back
free motion quilting label, with tied ends
free motion quilting label idea, shown on front of quilt
THIRD
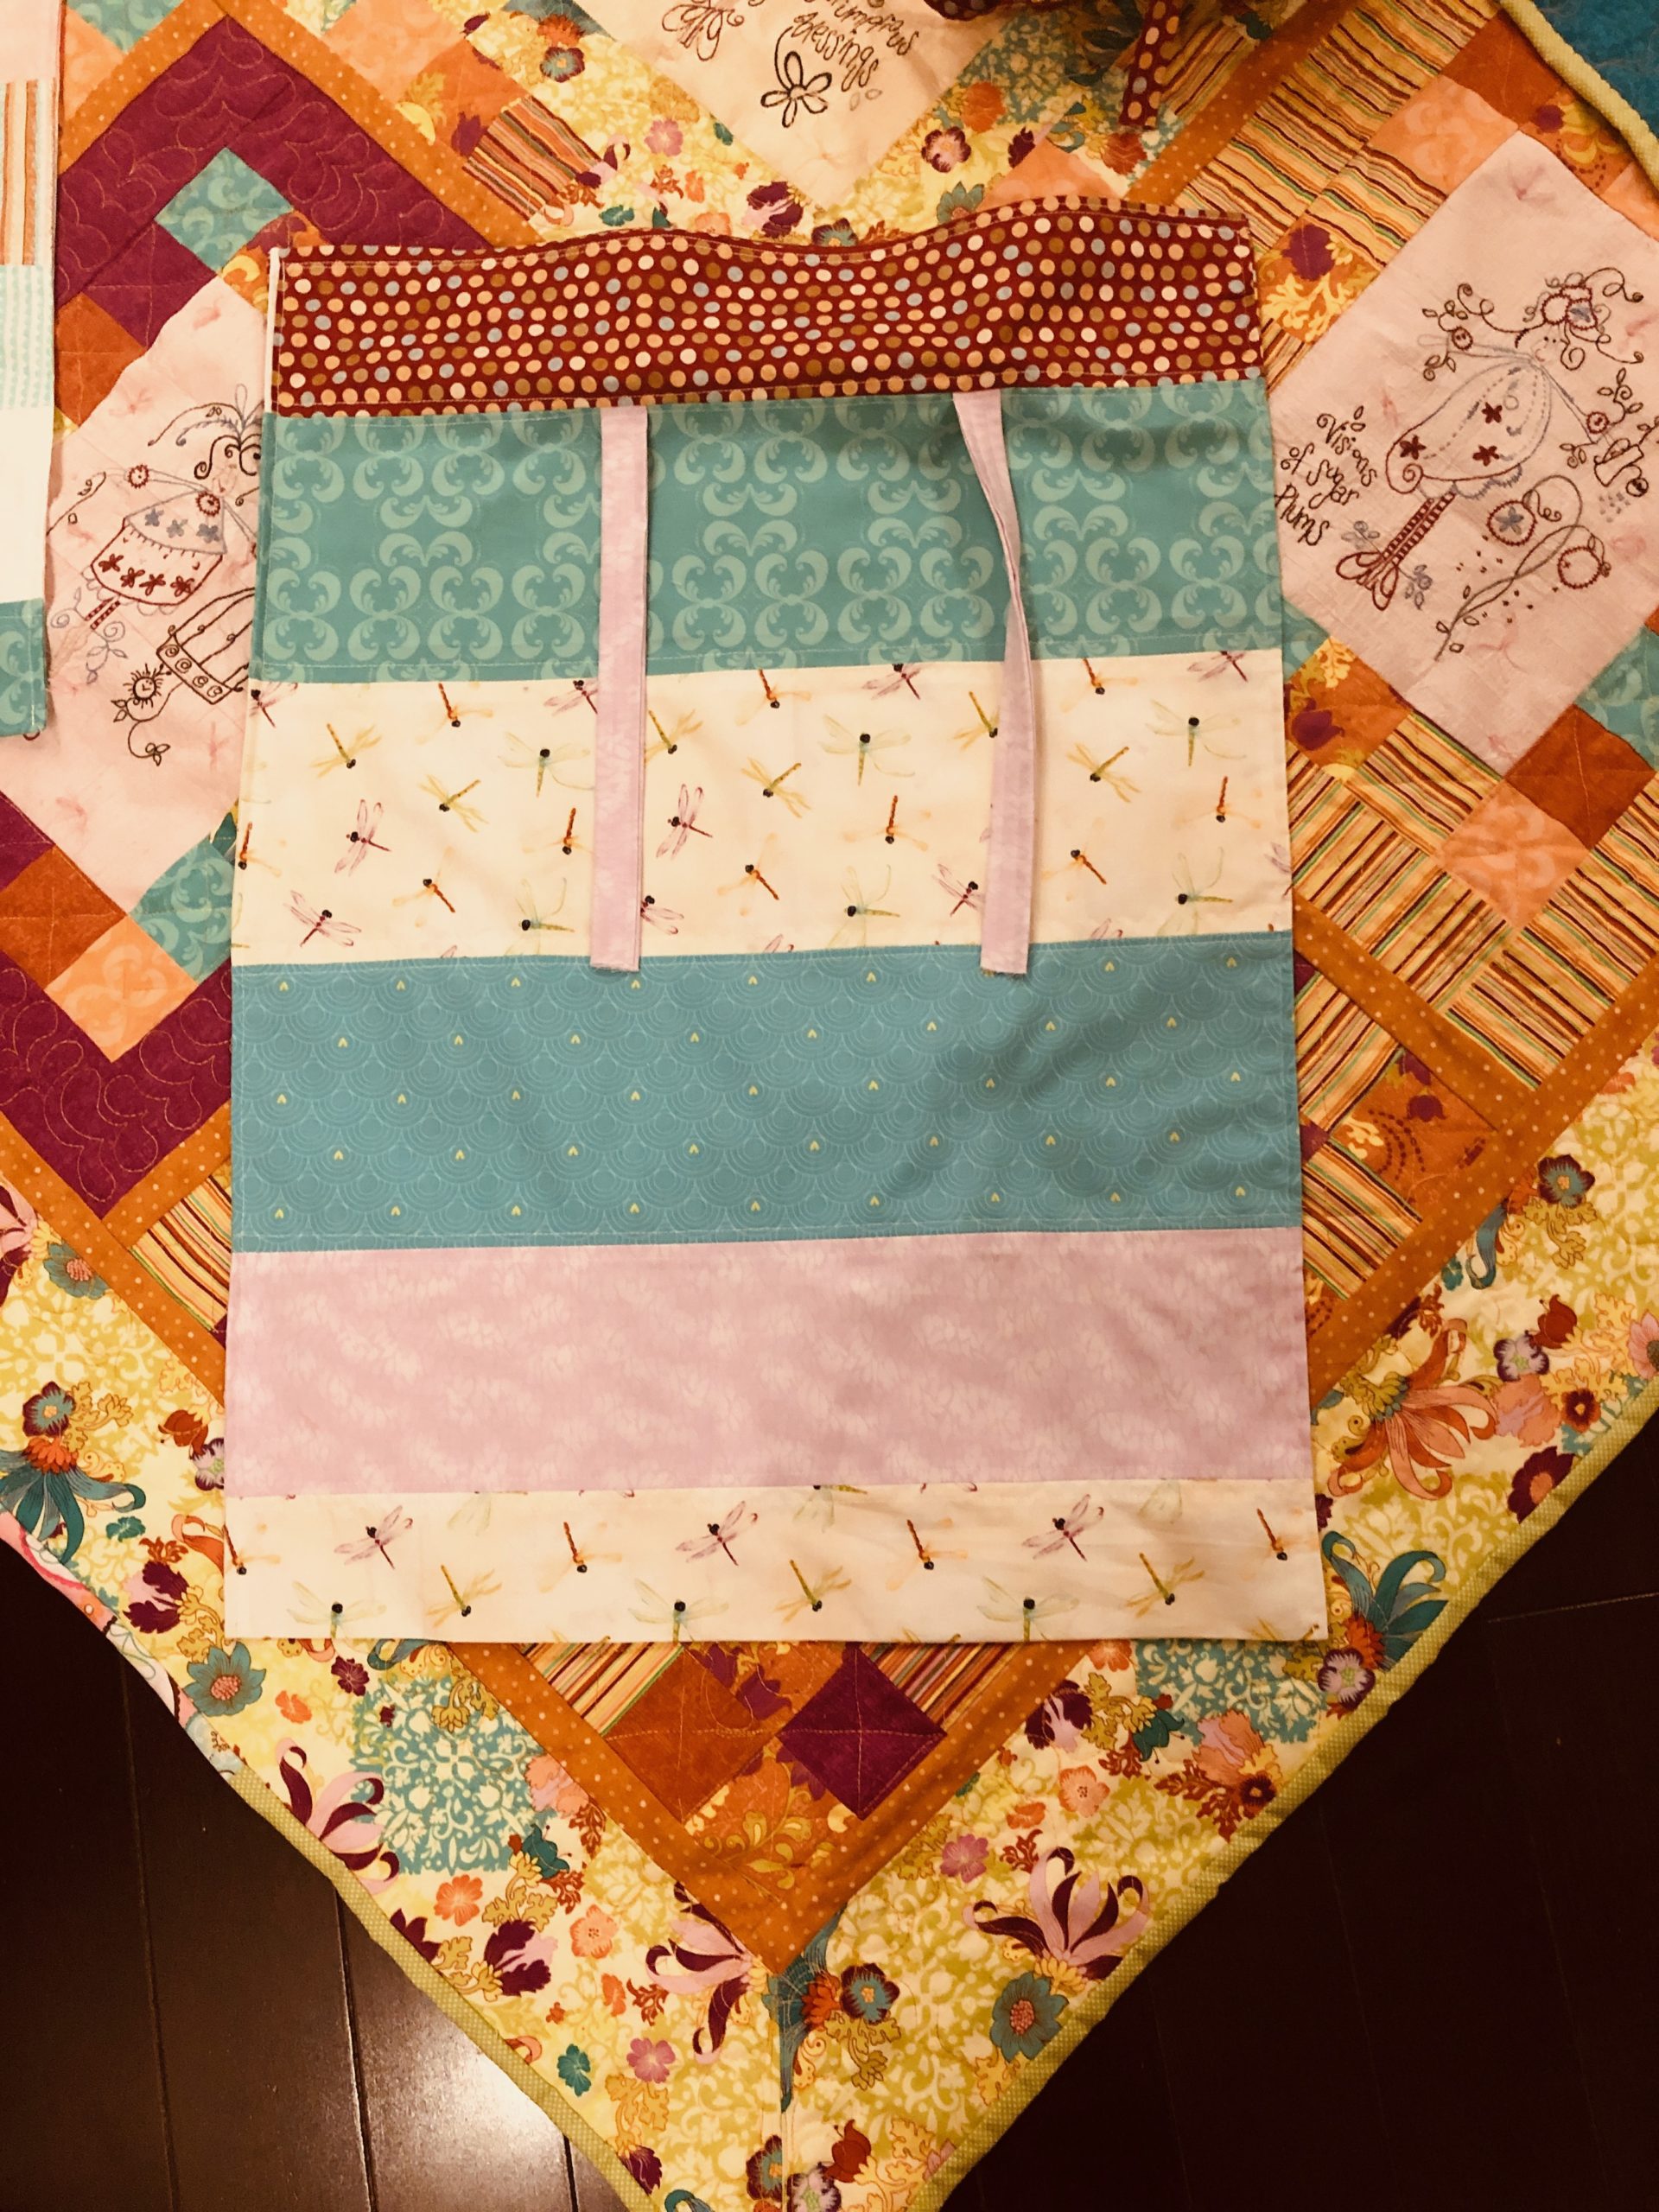
The Spring Pillow Cases…
These just turned out so cute, and were actually very easy, I haven’t made pillow cases below, except some small ones with 1 fabric, but nothing scrappy and fun like these, London mentioned, since these were for her, that she would like ties 🙂 I have a set of sheets that I decorated with ties and London just loves how these look – so… no problem we added ties.
Here’s the Pattern
Measure your current pillow case – mine is 29″ x 19″ (one side)
Pick out your fabrics, they can be matching or not (one for you and one for him, maybe?)
If you are a quilter, you’ll have fat quarters kicking around which measure 18″ x 22″ – notice anything? The 22″ is basically the width you’ll need including seam allowance, yes they might be an inch or so larger per side but this works, trust me it’s perfect
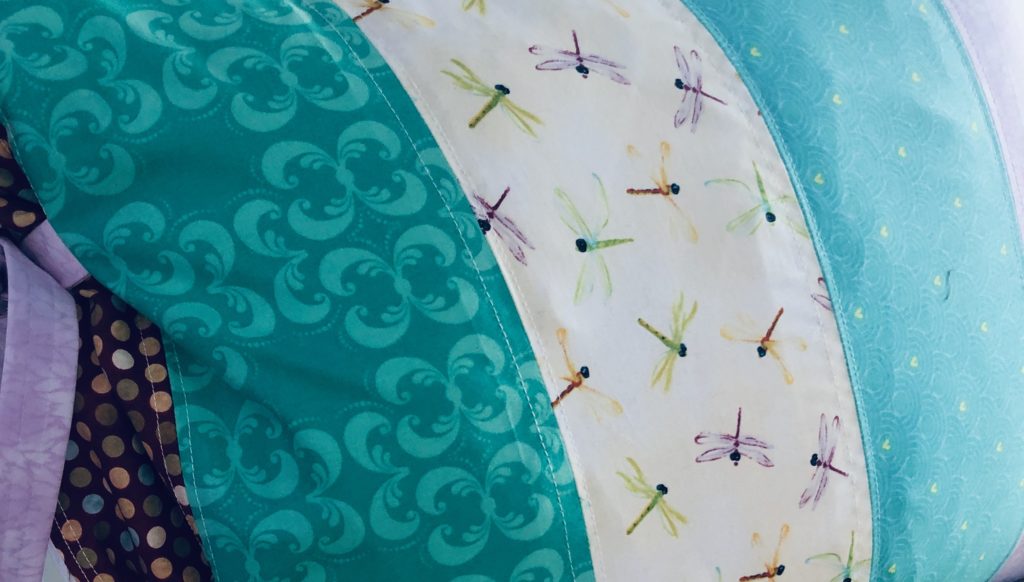
As you can see in my example, I striped pieced these, you will need two of each strip to make this mirror on the front and back
Cut strips into 6″ sections or the same width of your ruler to make it easy (see a pattern here, easy)
Some of these sections are small just pick your fabrics and make sure they add up to approx 29″ (then make two, front and back)
The bottom strip is a single unit so the end of the pillow case, the part that is at the bottom, so only one piece is needed here.
So, in the below example I have 2 (red dots (cuff 2″), teal strip (3″x2), orange dot (4″ x2) pink model (6″x20, Strip (6″x2), teal stripe (3″x2), white (6″x2), dark teal (6″x1) = 32″
Red Dot Cuff – the first pillow case I just turned the edge and finished it, the second pillow case I cut the cuff 6″ and folded it to 3″ then stitched this on the pillow case so the cuff was thicker and nicer
if you want to have ties – which are super cute. Cut 3″ strip – will give you 4 ties (with the 2 pillow cases I used the red dot as the connecting fabric, so they sort-of looked like a set- when you are adding this cuff tuck the ties into place, make them secure by backstitching over top of the spot, lay their end buried inside the seam in the same direction – it’s a bit tricky to top stitch the seam allowance as in step 12 but just take your time and go over it – it looks so nice!
sew all of the strips together, same order on both sides (so they are a continuous stripe through the pillow case), press seams open (you want them as flat as possible), so now you have a 22″w x approx 64″ long rectangle.
to make this pillow case look ‘finished’ and ‘professionally completed, proceed to change your stitch length to a longer top stitch length, you can use a walking foot if you like ( I didn’t) just an open toe foot and I proceeded to first do a loose top stitch on both edges this will hold the pressed open seams in place, then top stitch each seam on either side, I did it about an 1/8″ away – to catch the seam at the back – this will reinforce all of these for longevity with the pillow case, years of love and washing.
Then press, press, press
Connect the two sides, I started with the bottom (un-open side) and then stitched to the cuff end, make sure to pin all of your seams so they match up exactly, the stripe will be continuous front to back…
Fold corners so they lay flat, then turn pillow case right side out – press, top stitch the two long sides (just do this as close to the edge as possible, I just used my open toe foot as the measurement) start at the bottom and work you way to the opening, back stitch both ends.
top stitch the cuff in two lines
U R Finished!
Striped Pieced Pillow Case for Spring!Top Stitch your seams…it’s so pretty!